Below is the step by step guide on how to purchase web hosting. In this example, we will shows the purchase of Linux Shared Hosting. The same steps applies for all our web hosting plan.
Go to our hosting page at https://www.webshop.my/hosting
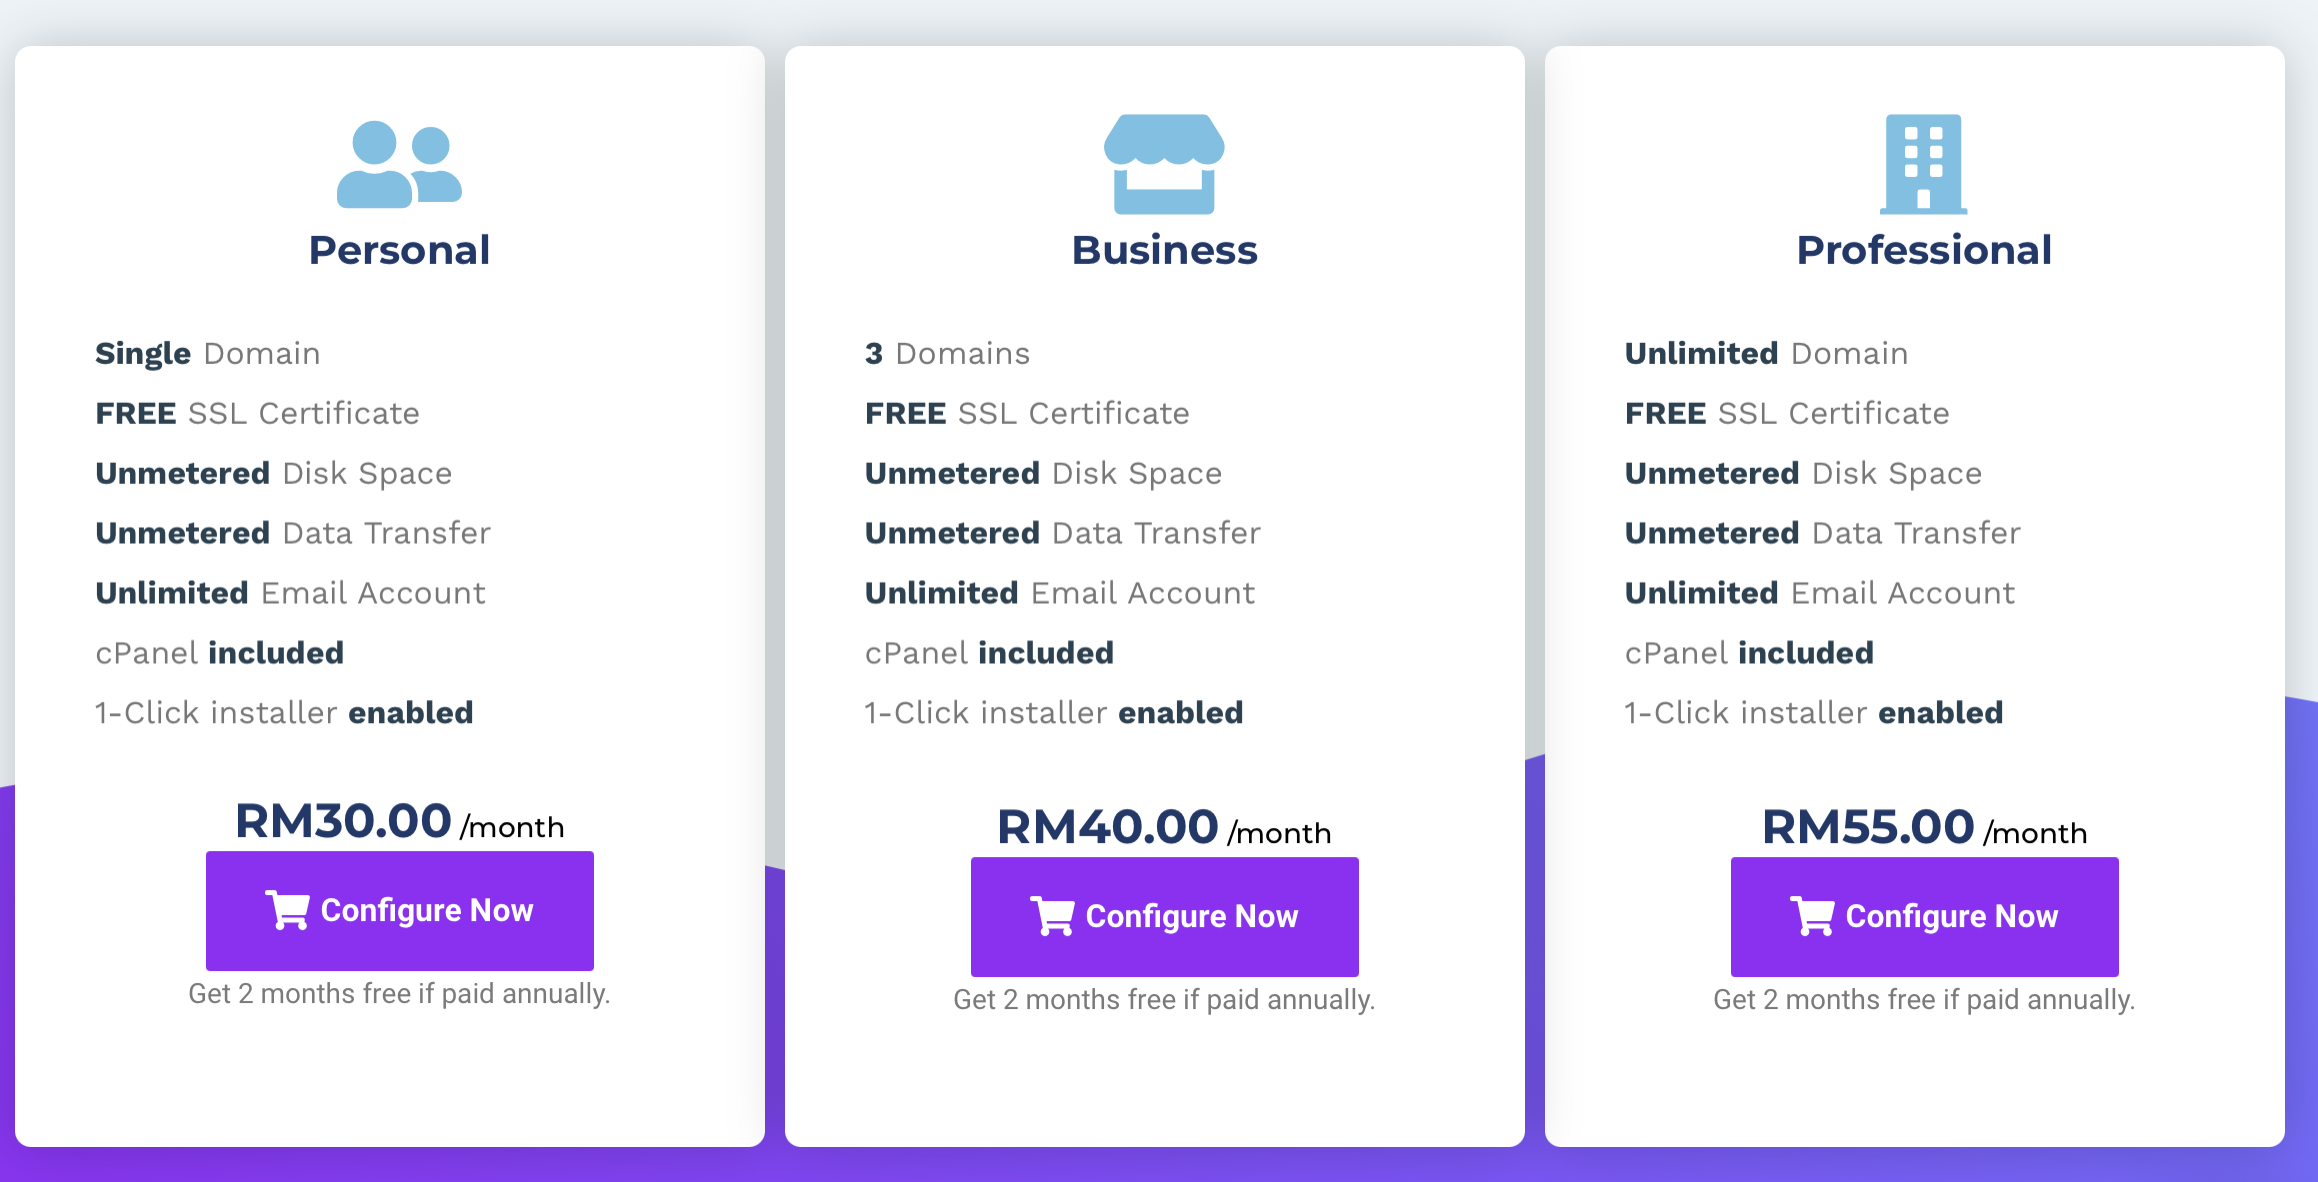
Choose the desired hosting plan
Choose the appropriate web hosting that you requires. In this example we will shows the example of purchase for the plan mentioned above.
Read through the different features of each plan, and click the “Configure Now” button as per below.
Unified Order Form
You will see the unified order form as follows.
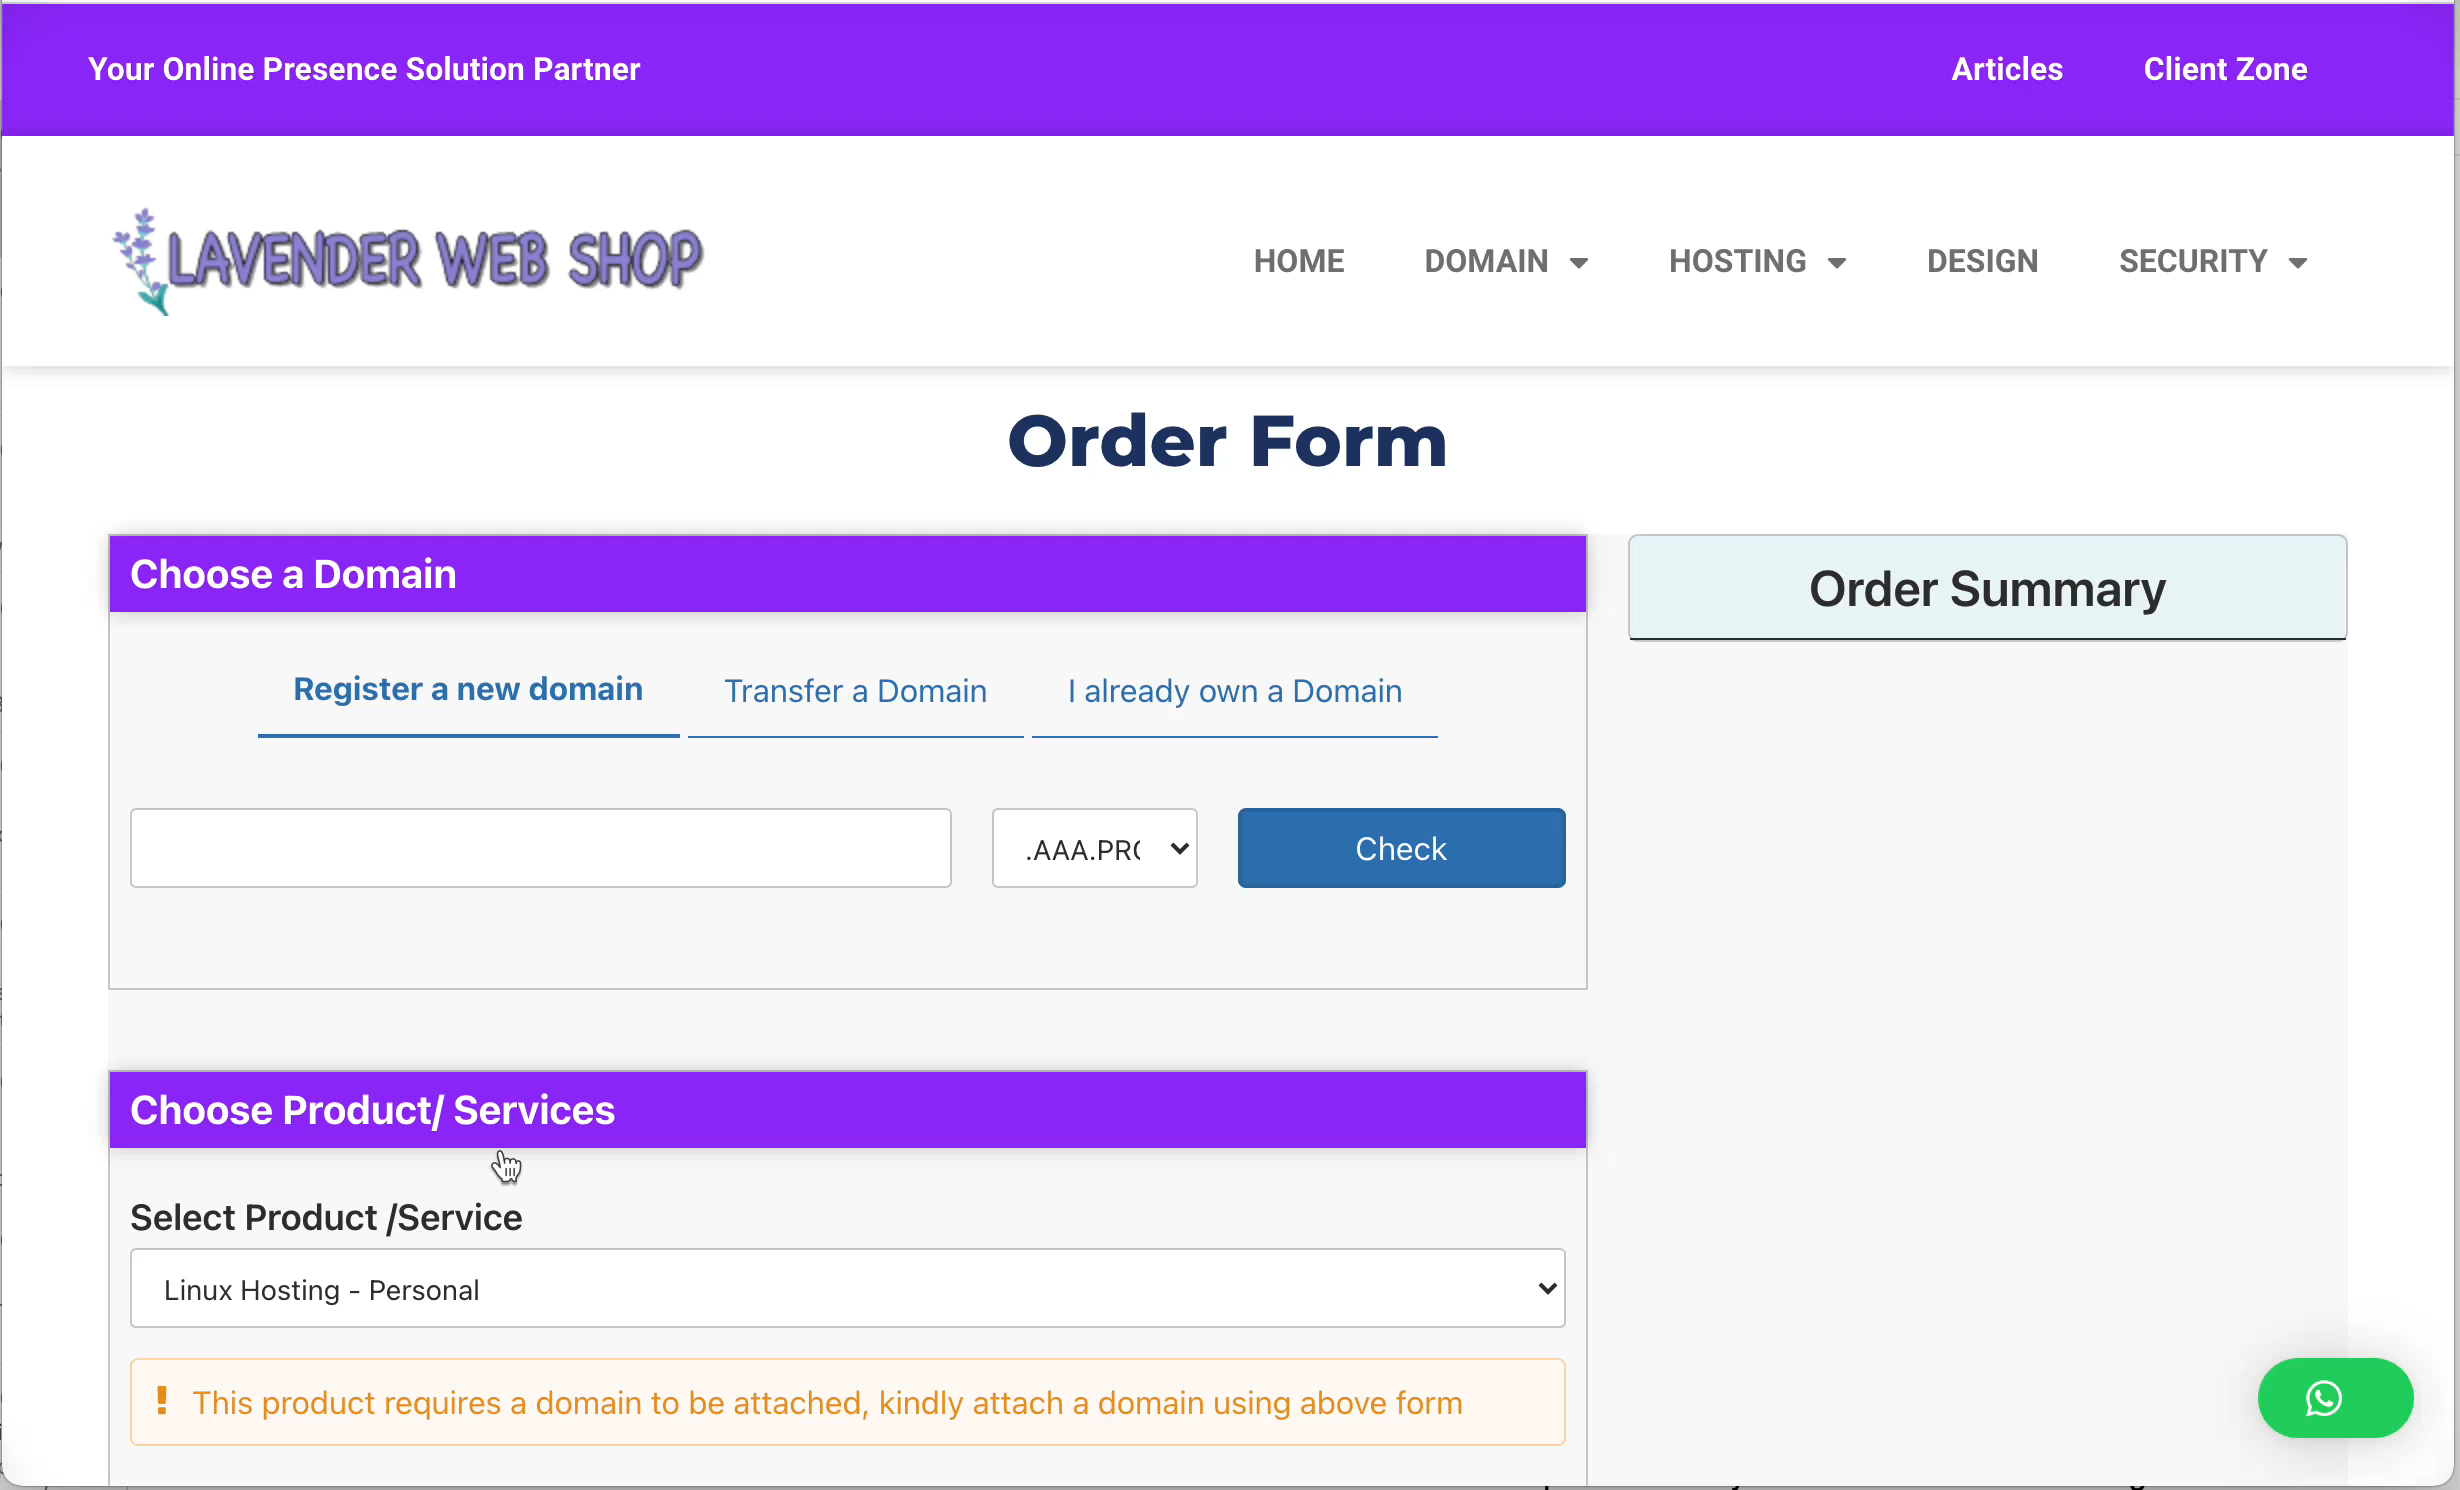
You will notice that our web hosting product requires a domain to be attached. You can choose your domain by entering the information in the Choose Domain. You can either:
- Register a new domain for the web hosting that you intend to purchase.
- Transfer a domain if you already owned a domain and would like it to be managed centrally here at Lavender Web Shop.
- I already own a domain – choose this option if you would like to just update your name server at your existing domain provider to point to our web hosting server.
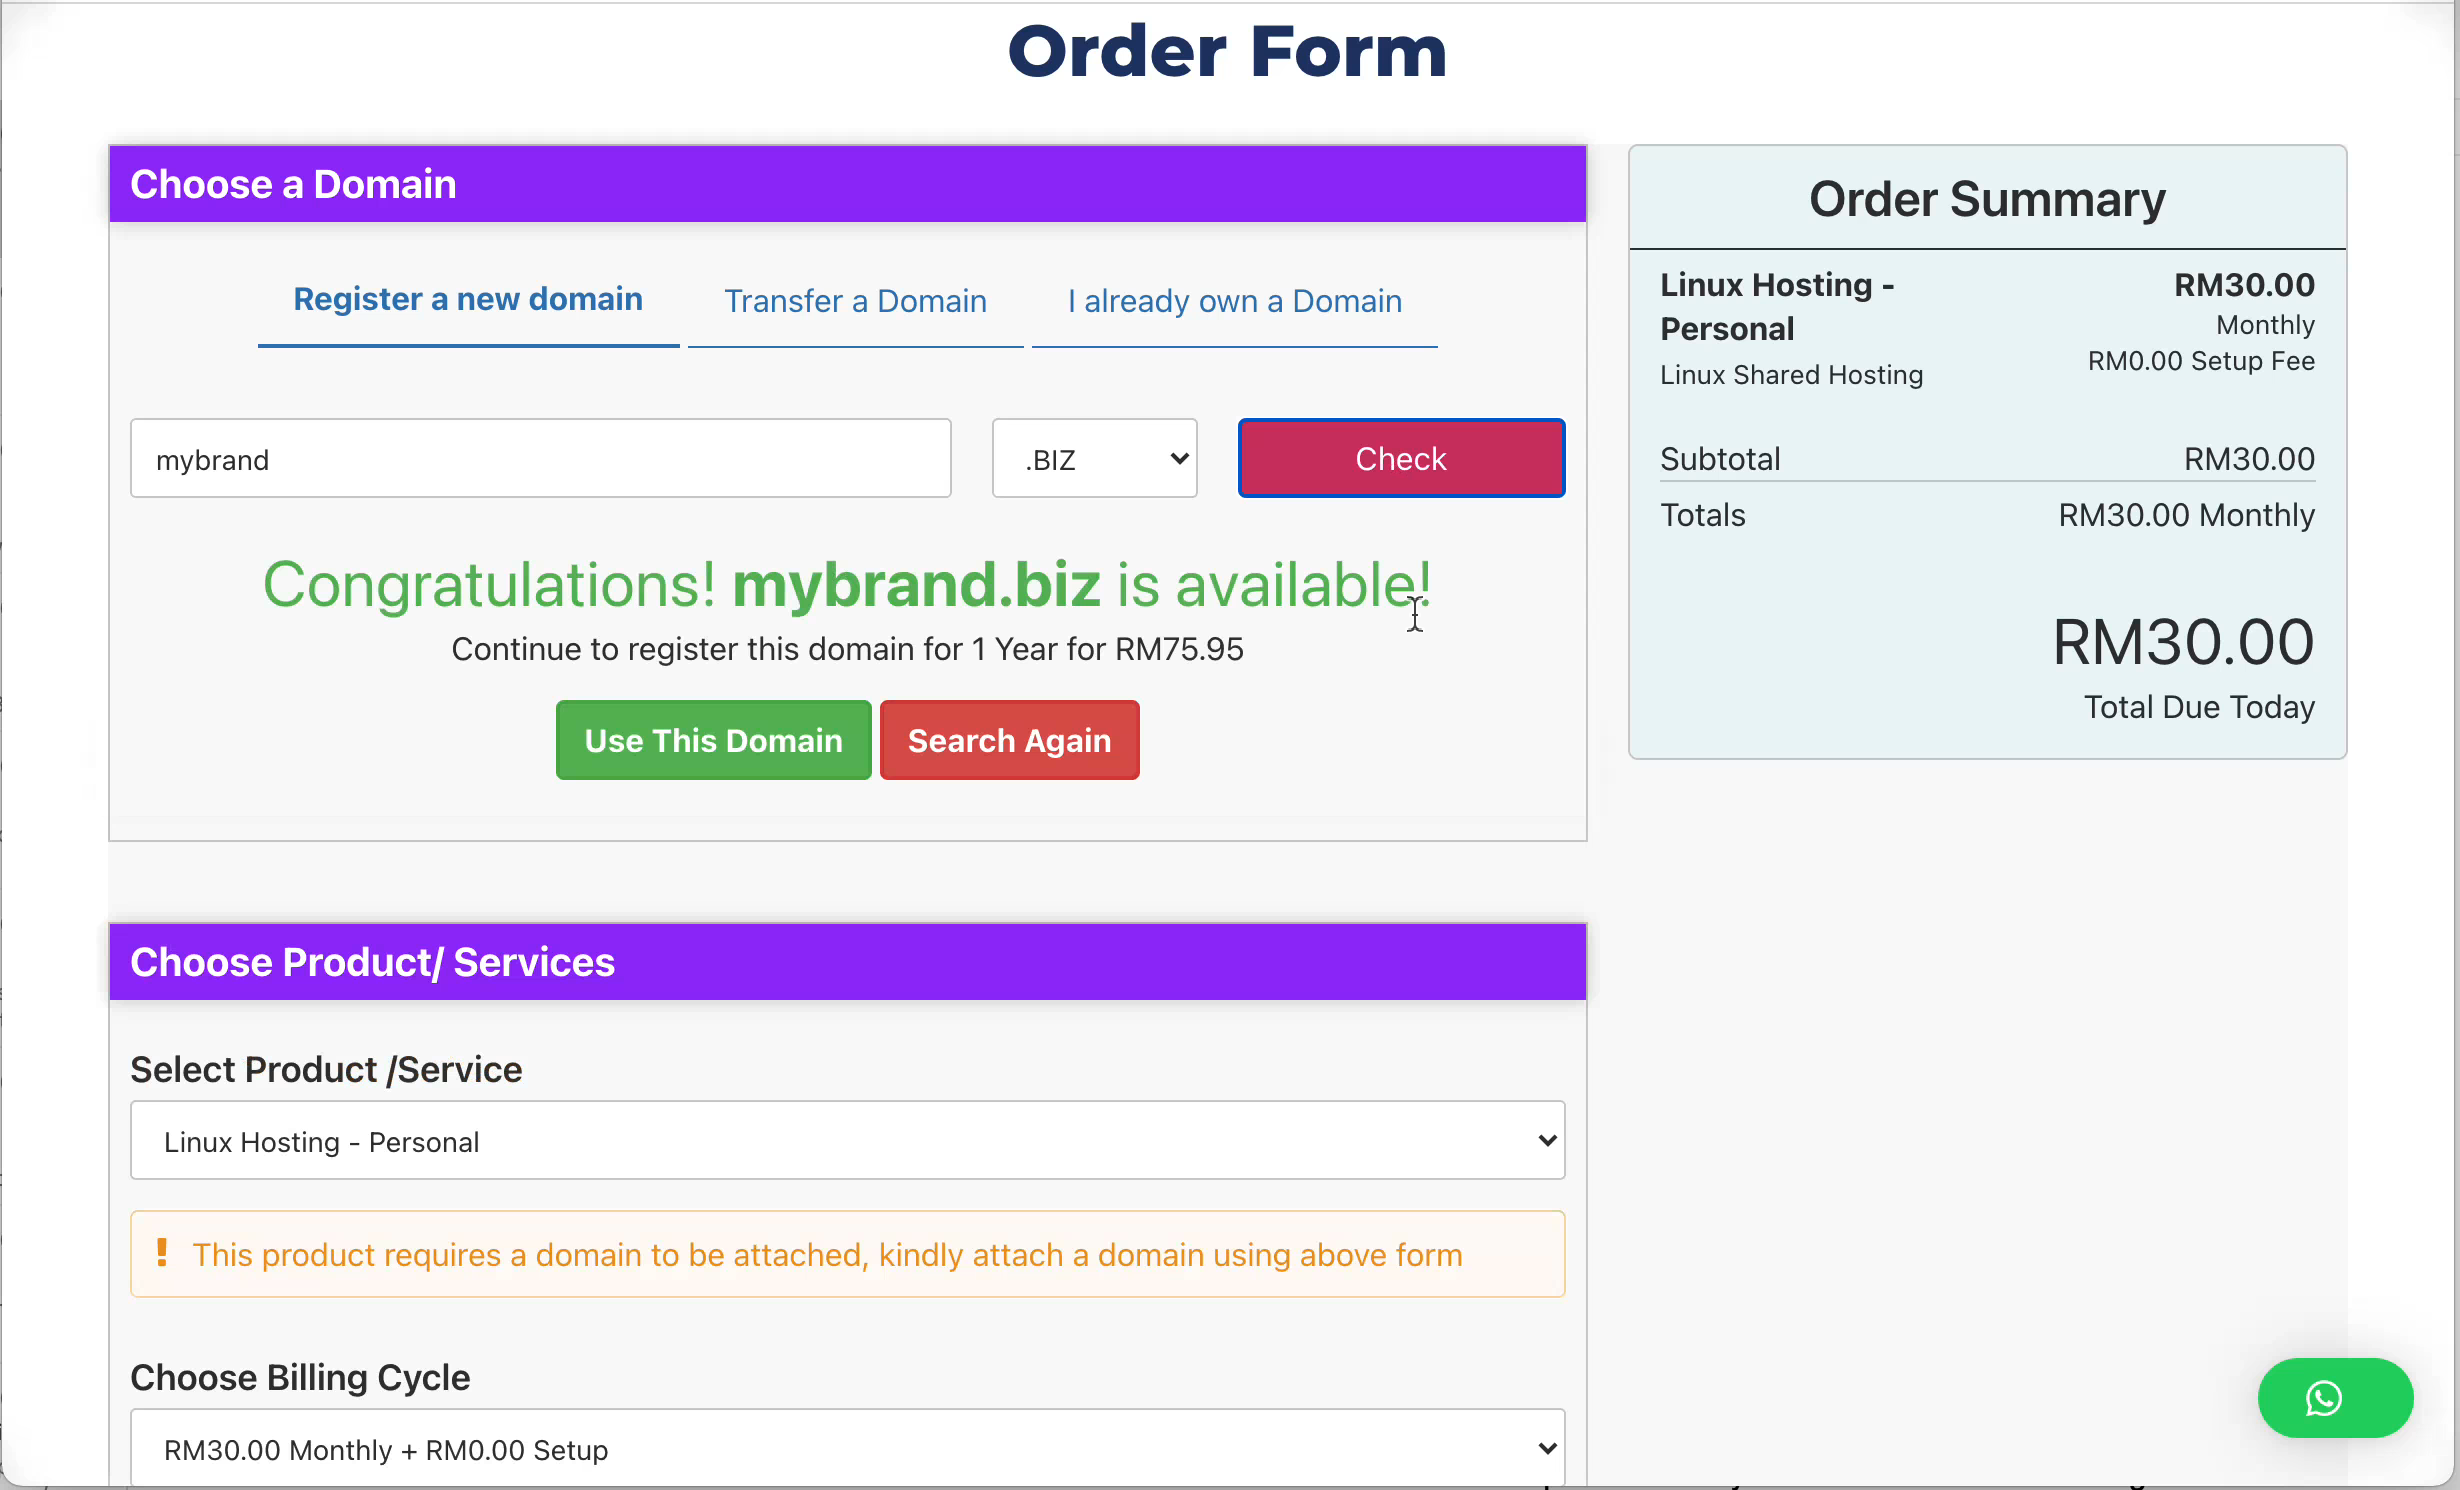
Configure your web hosting – Choose billing cycle.
You will need to choose the Billing Cycle, either Monthly/ Yearly. Depending on your choice of the billing cycle, the “Order Summary” table will reflect the amount that is due from you today.
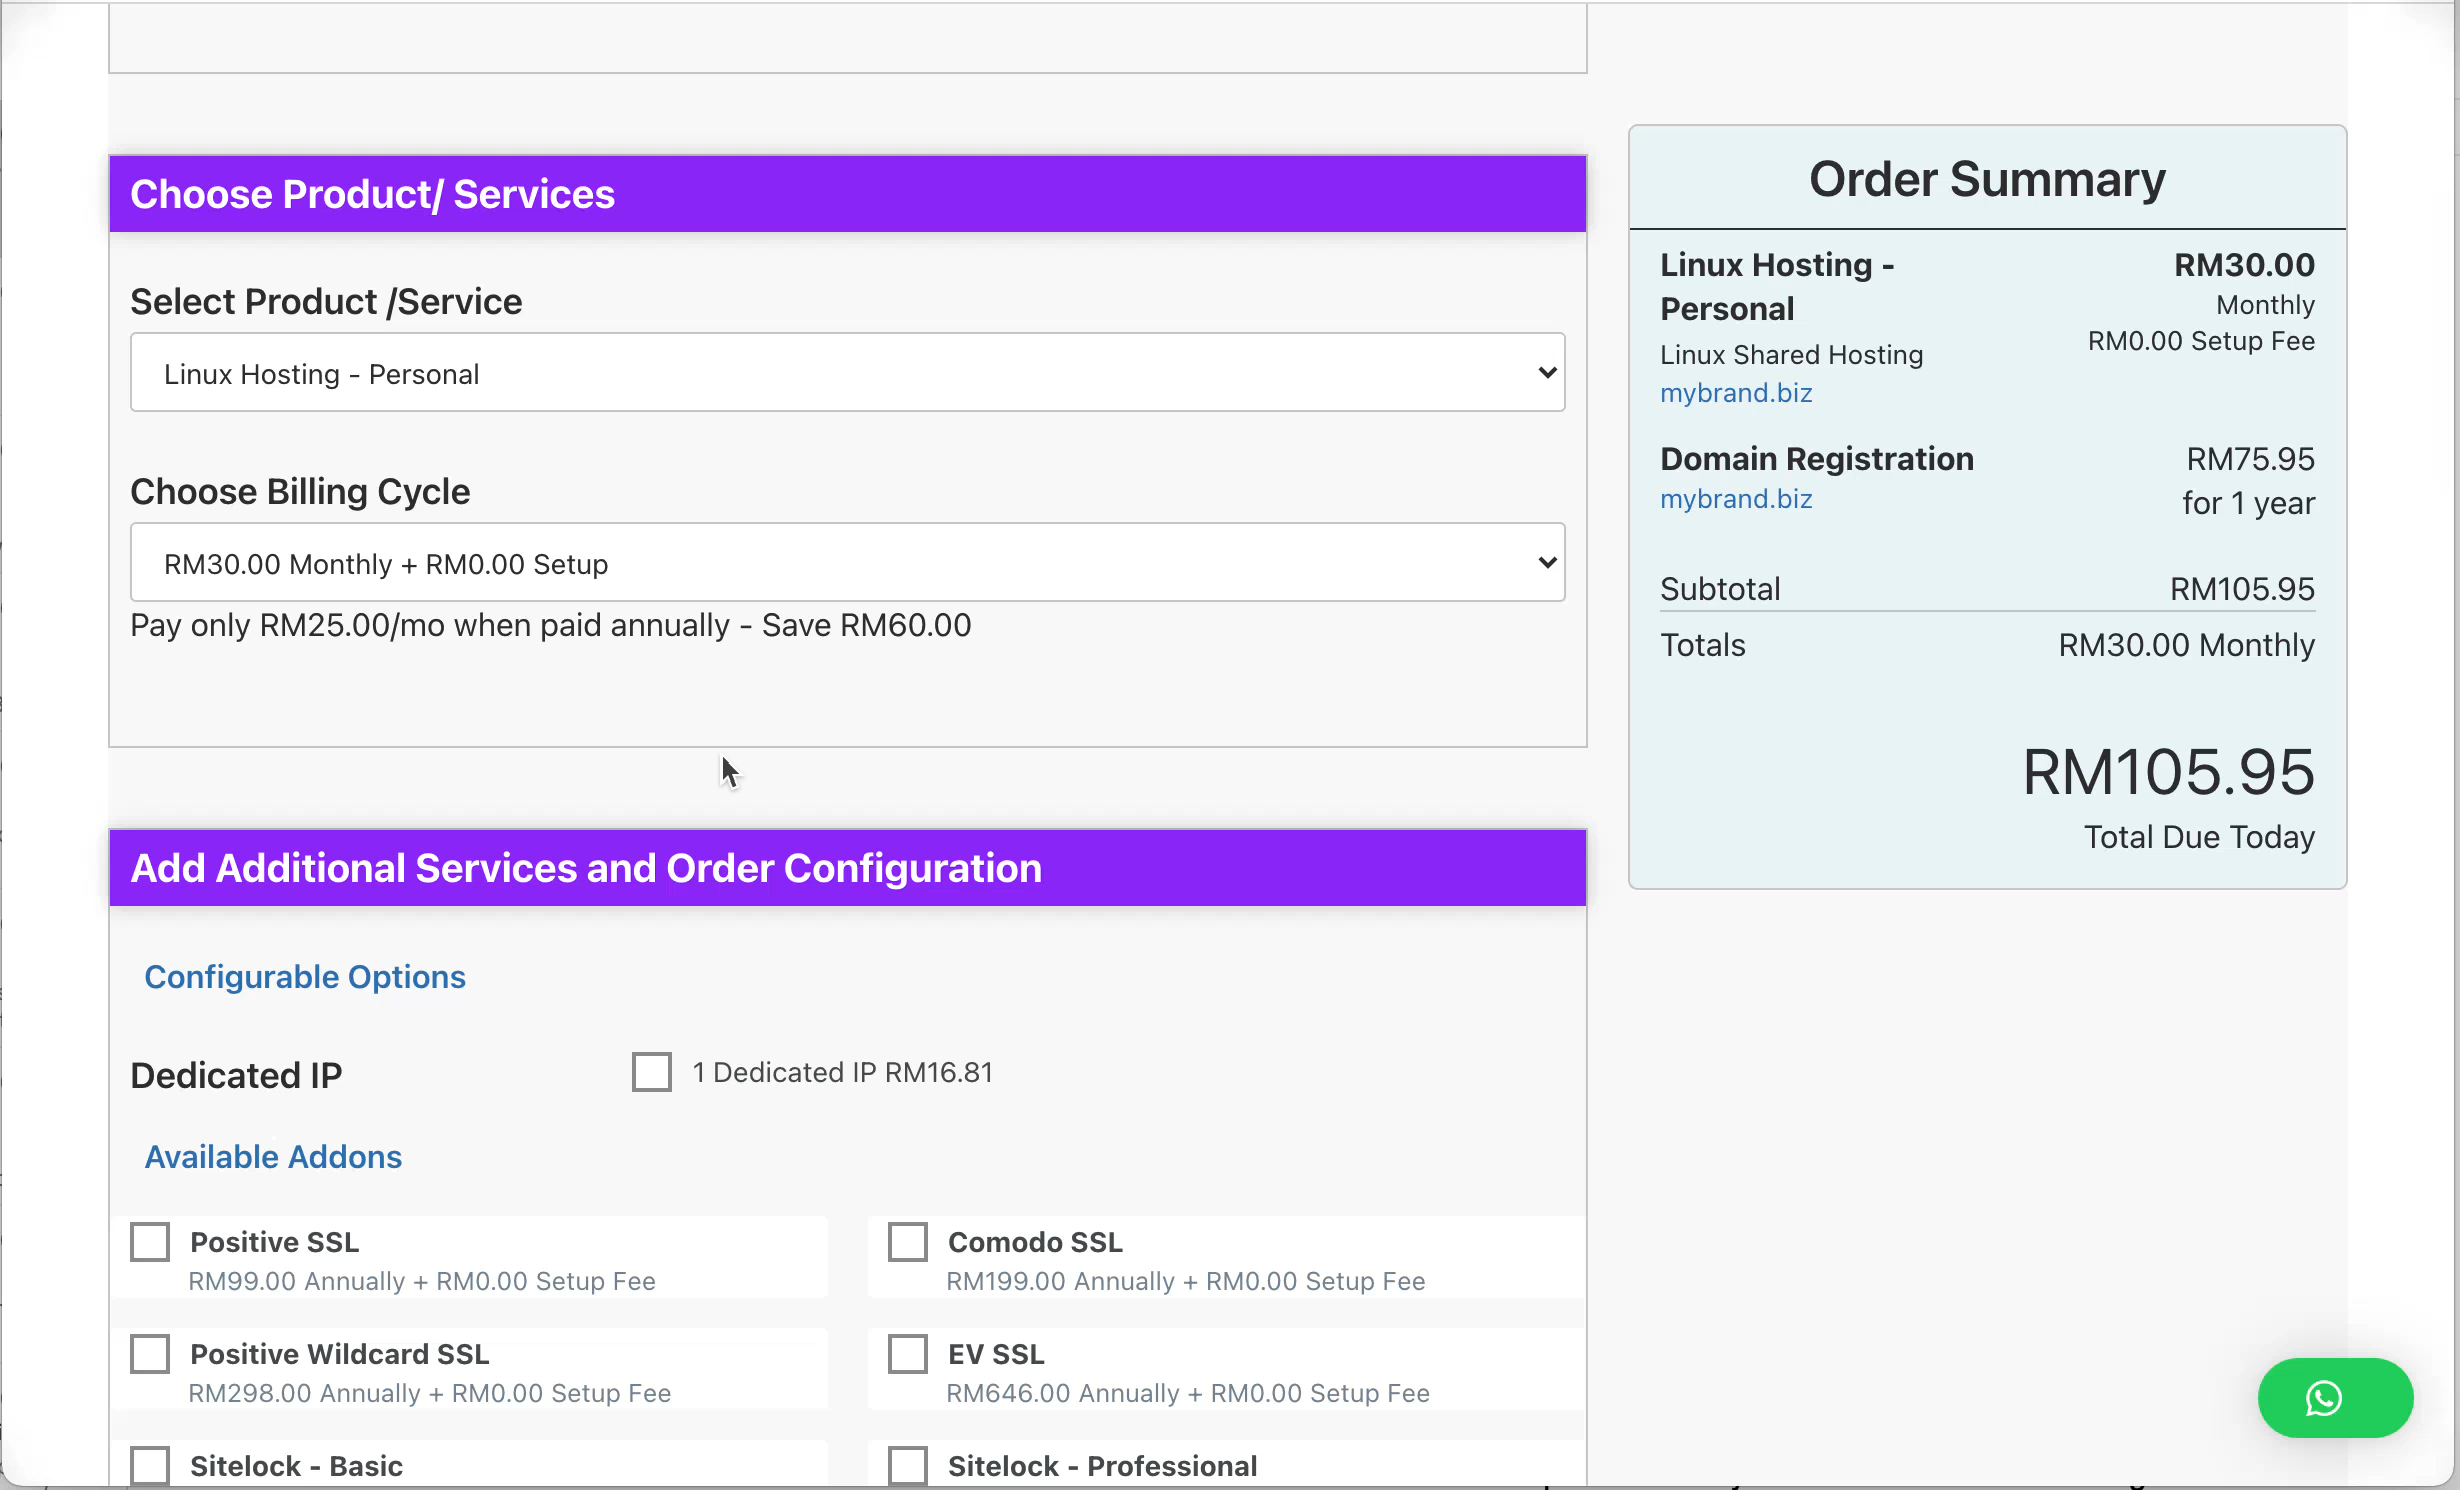
You will also notice that you can also choose Additional Services/ Add-ons for your web hosting such as SSL certificate, Sitelock – Malware Detector and Removal, Code Guard – Off-site online backup solution, etc.
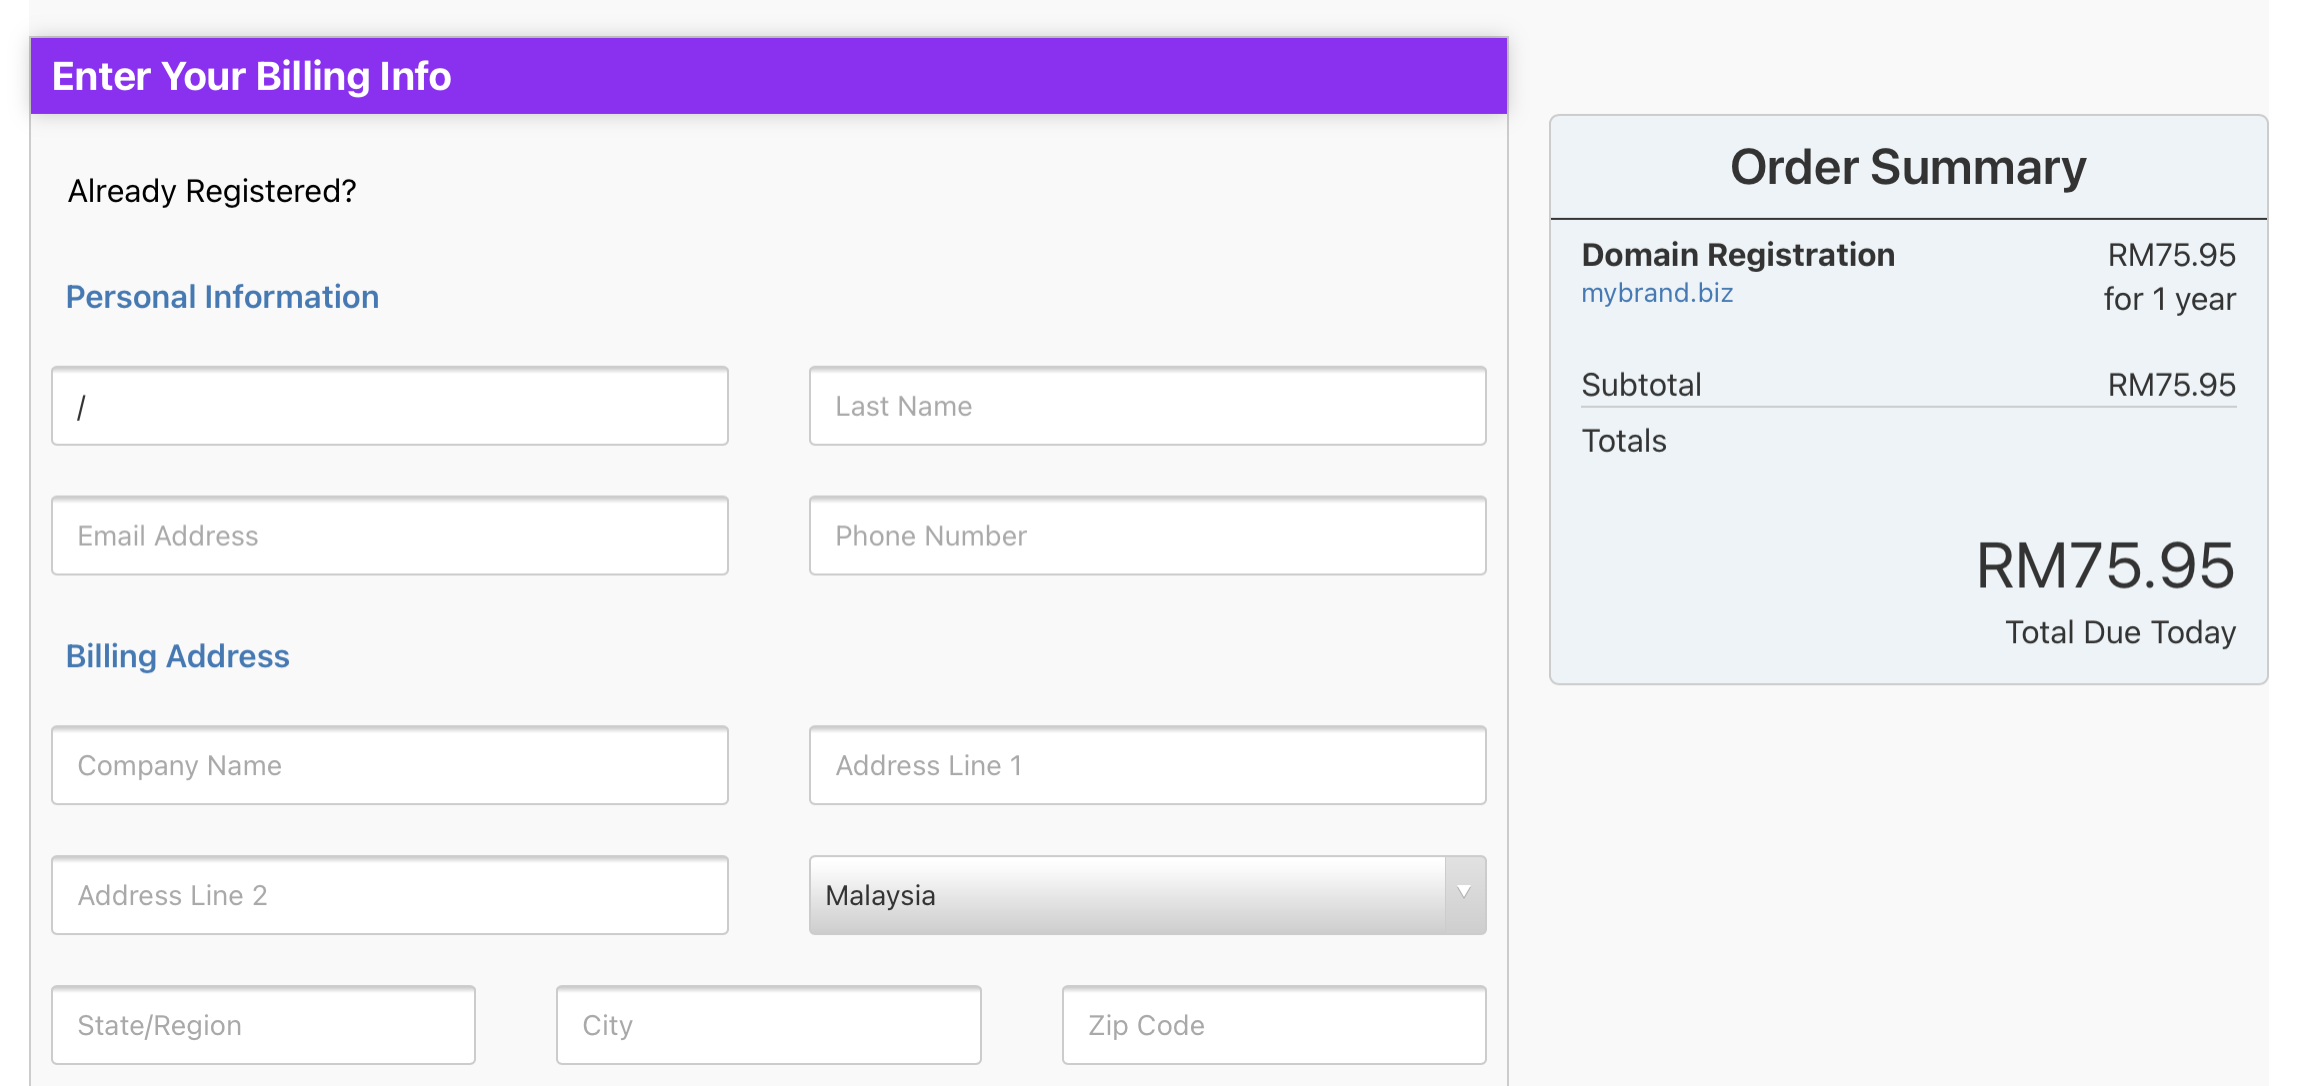
Biling Information
If you are our existing customer, click “Already Registered” link and enter your login information as follows:
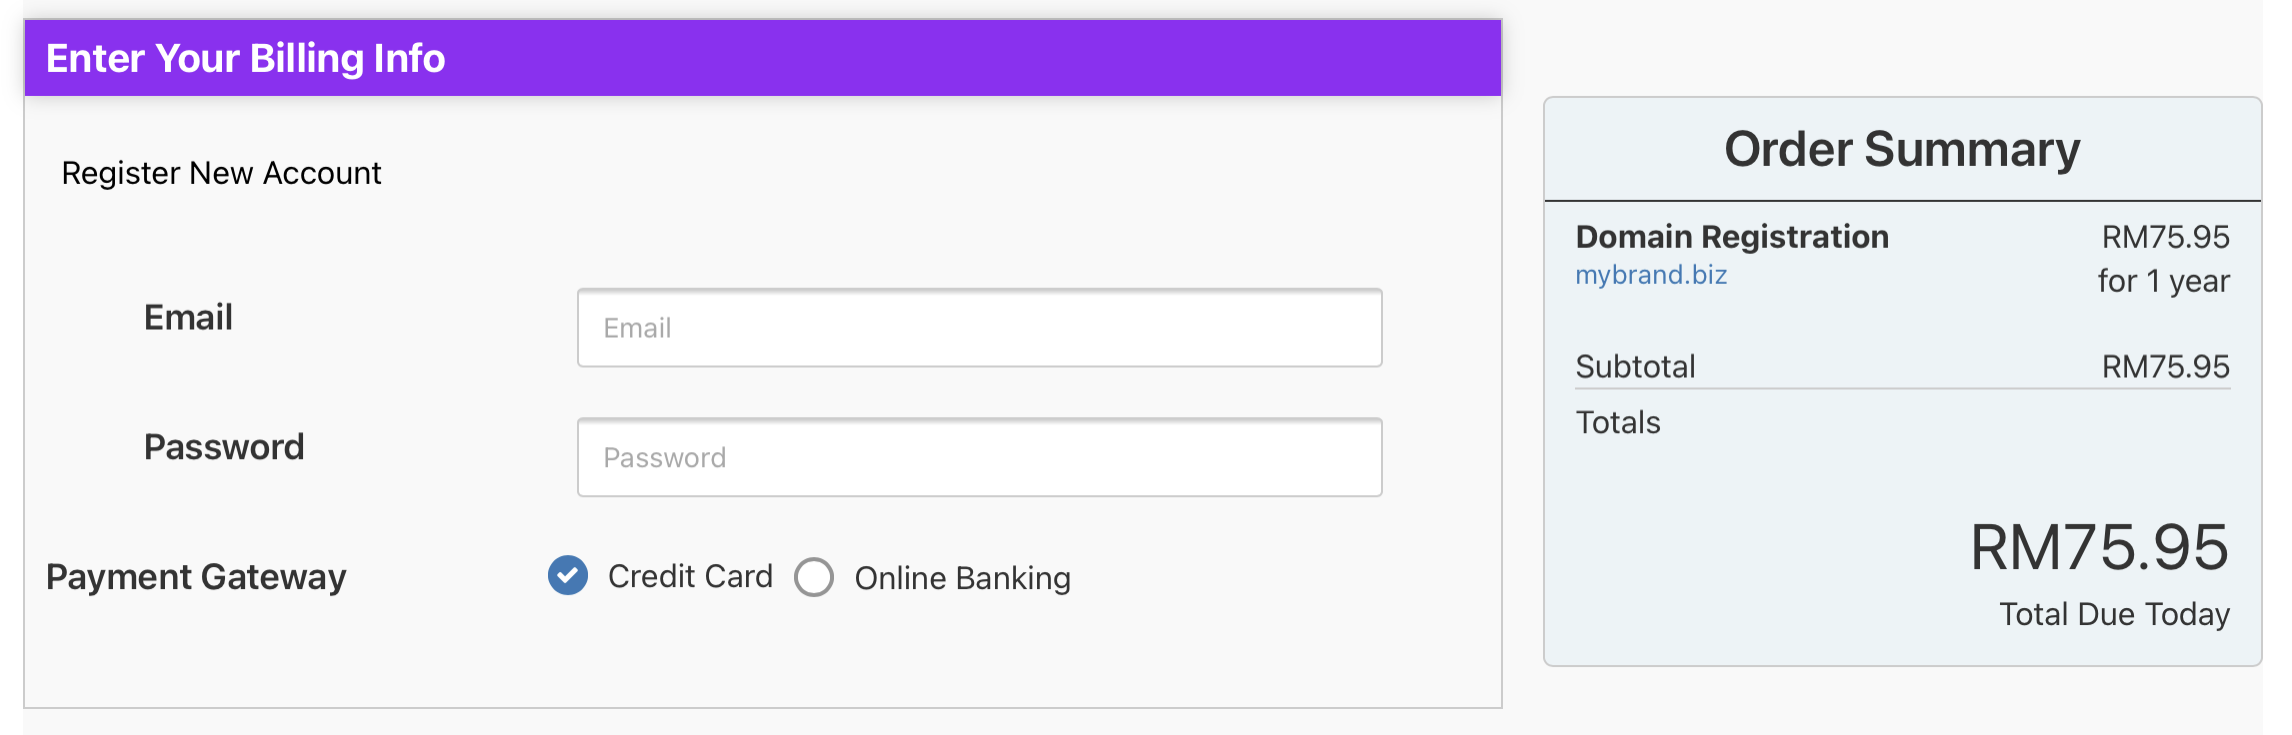
Otherwise, Register New Account by entering your contact information. If you register a new account, create your password as well.
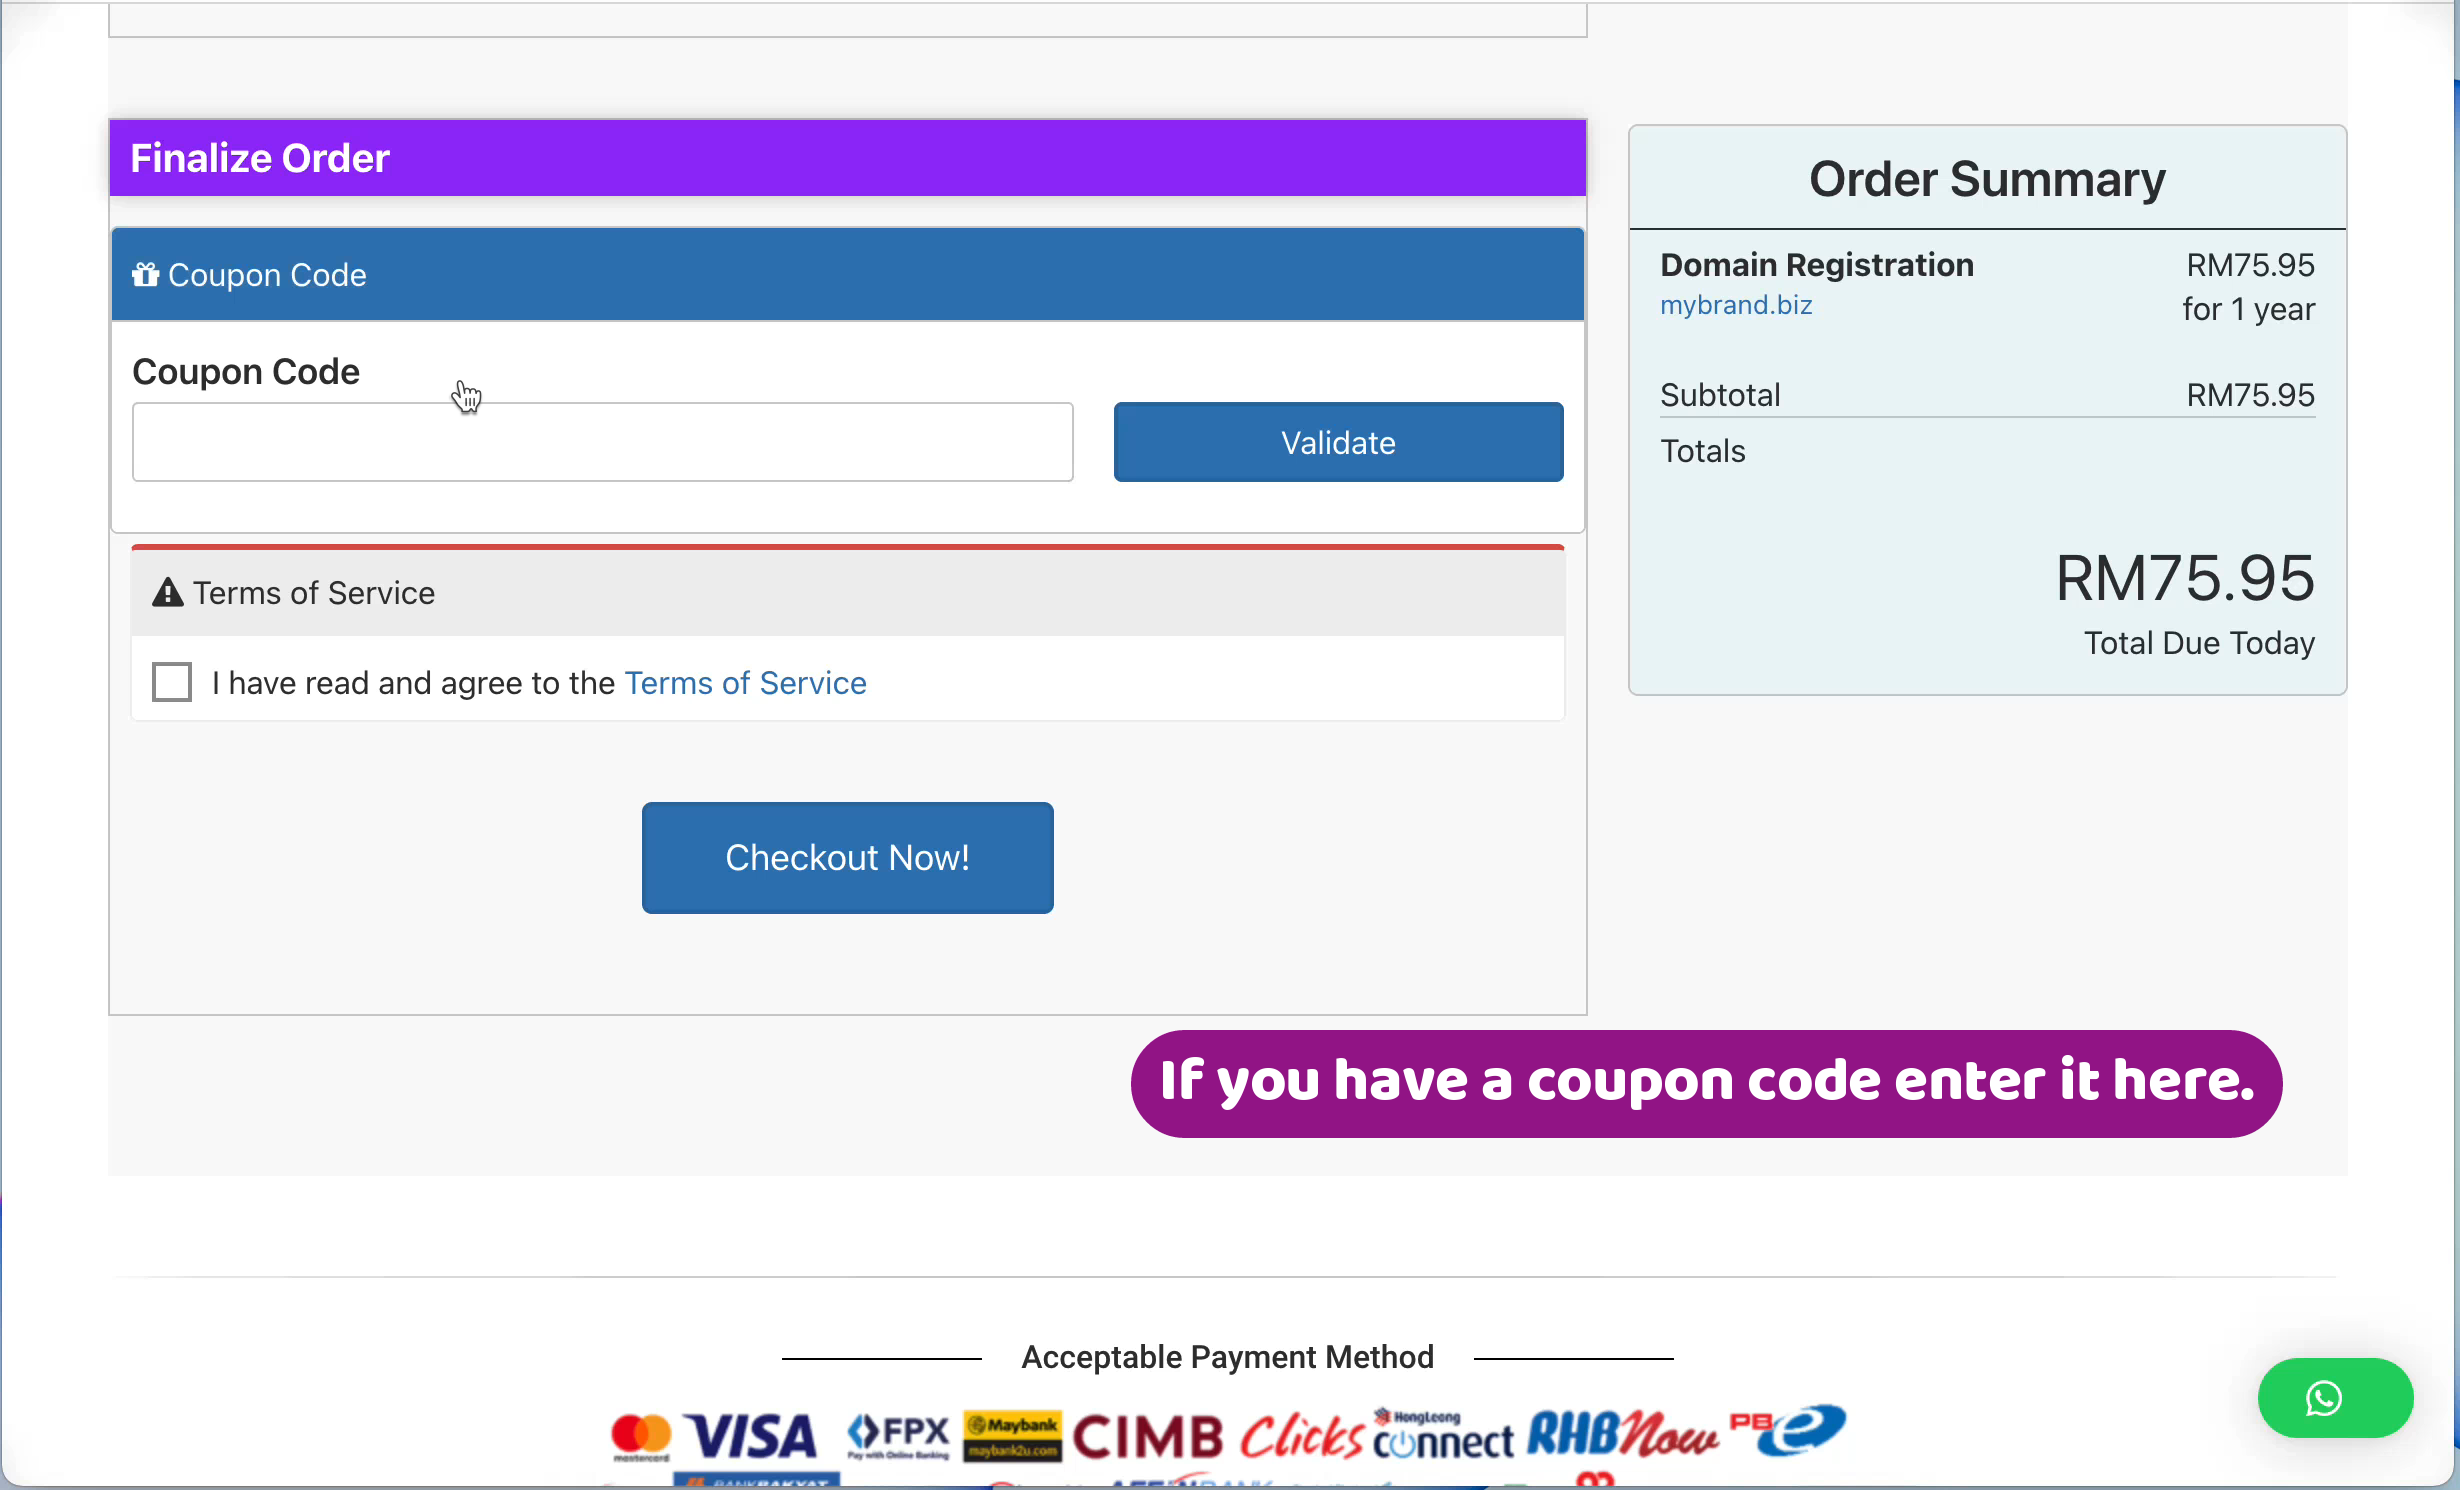
Finalize Order
In this section you enter a Coupon Code if you have one to validate and accept our Terms of Service. If everything in order, click the “Checkout Now!” button to continue.
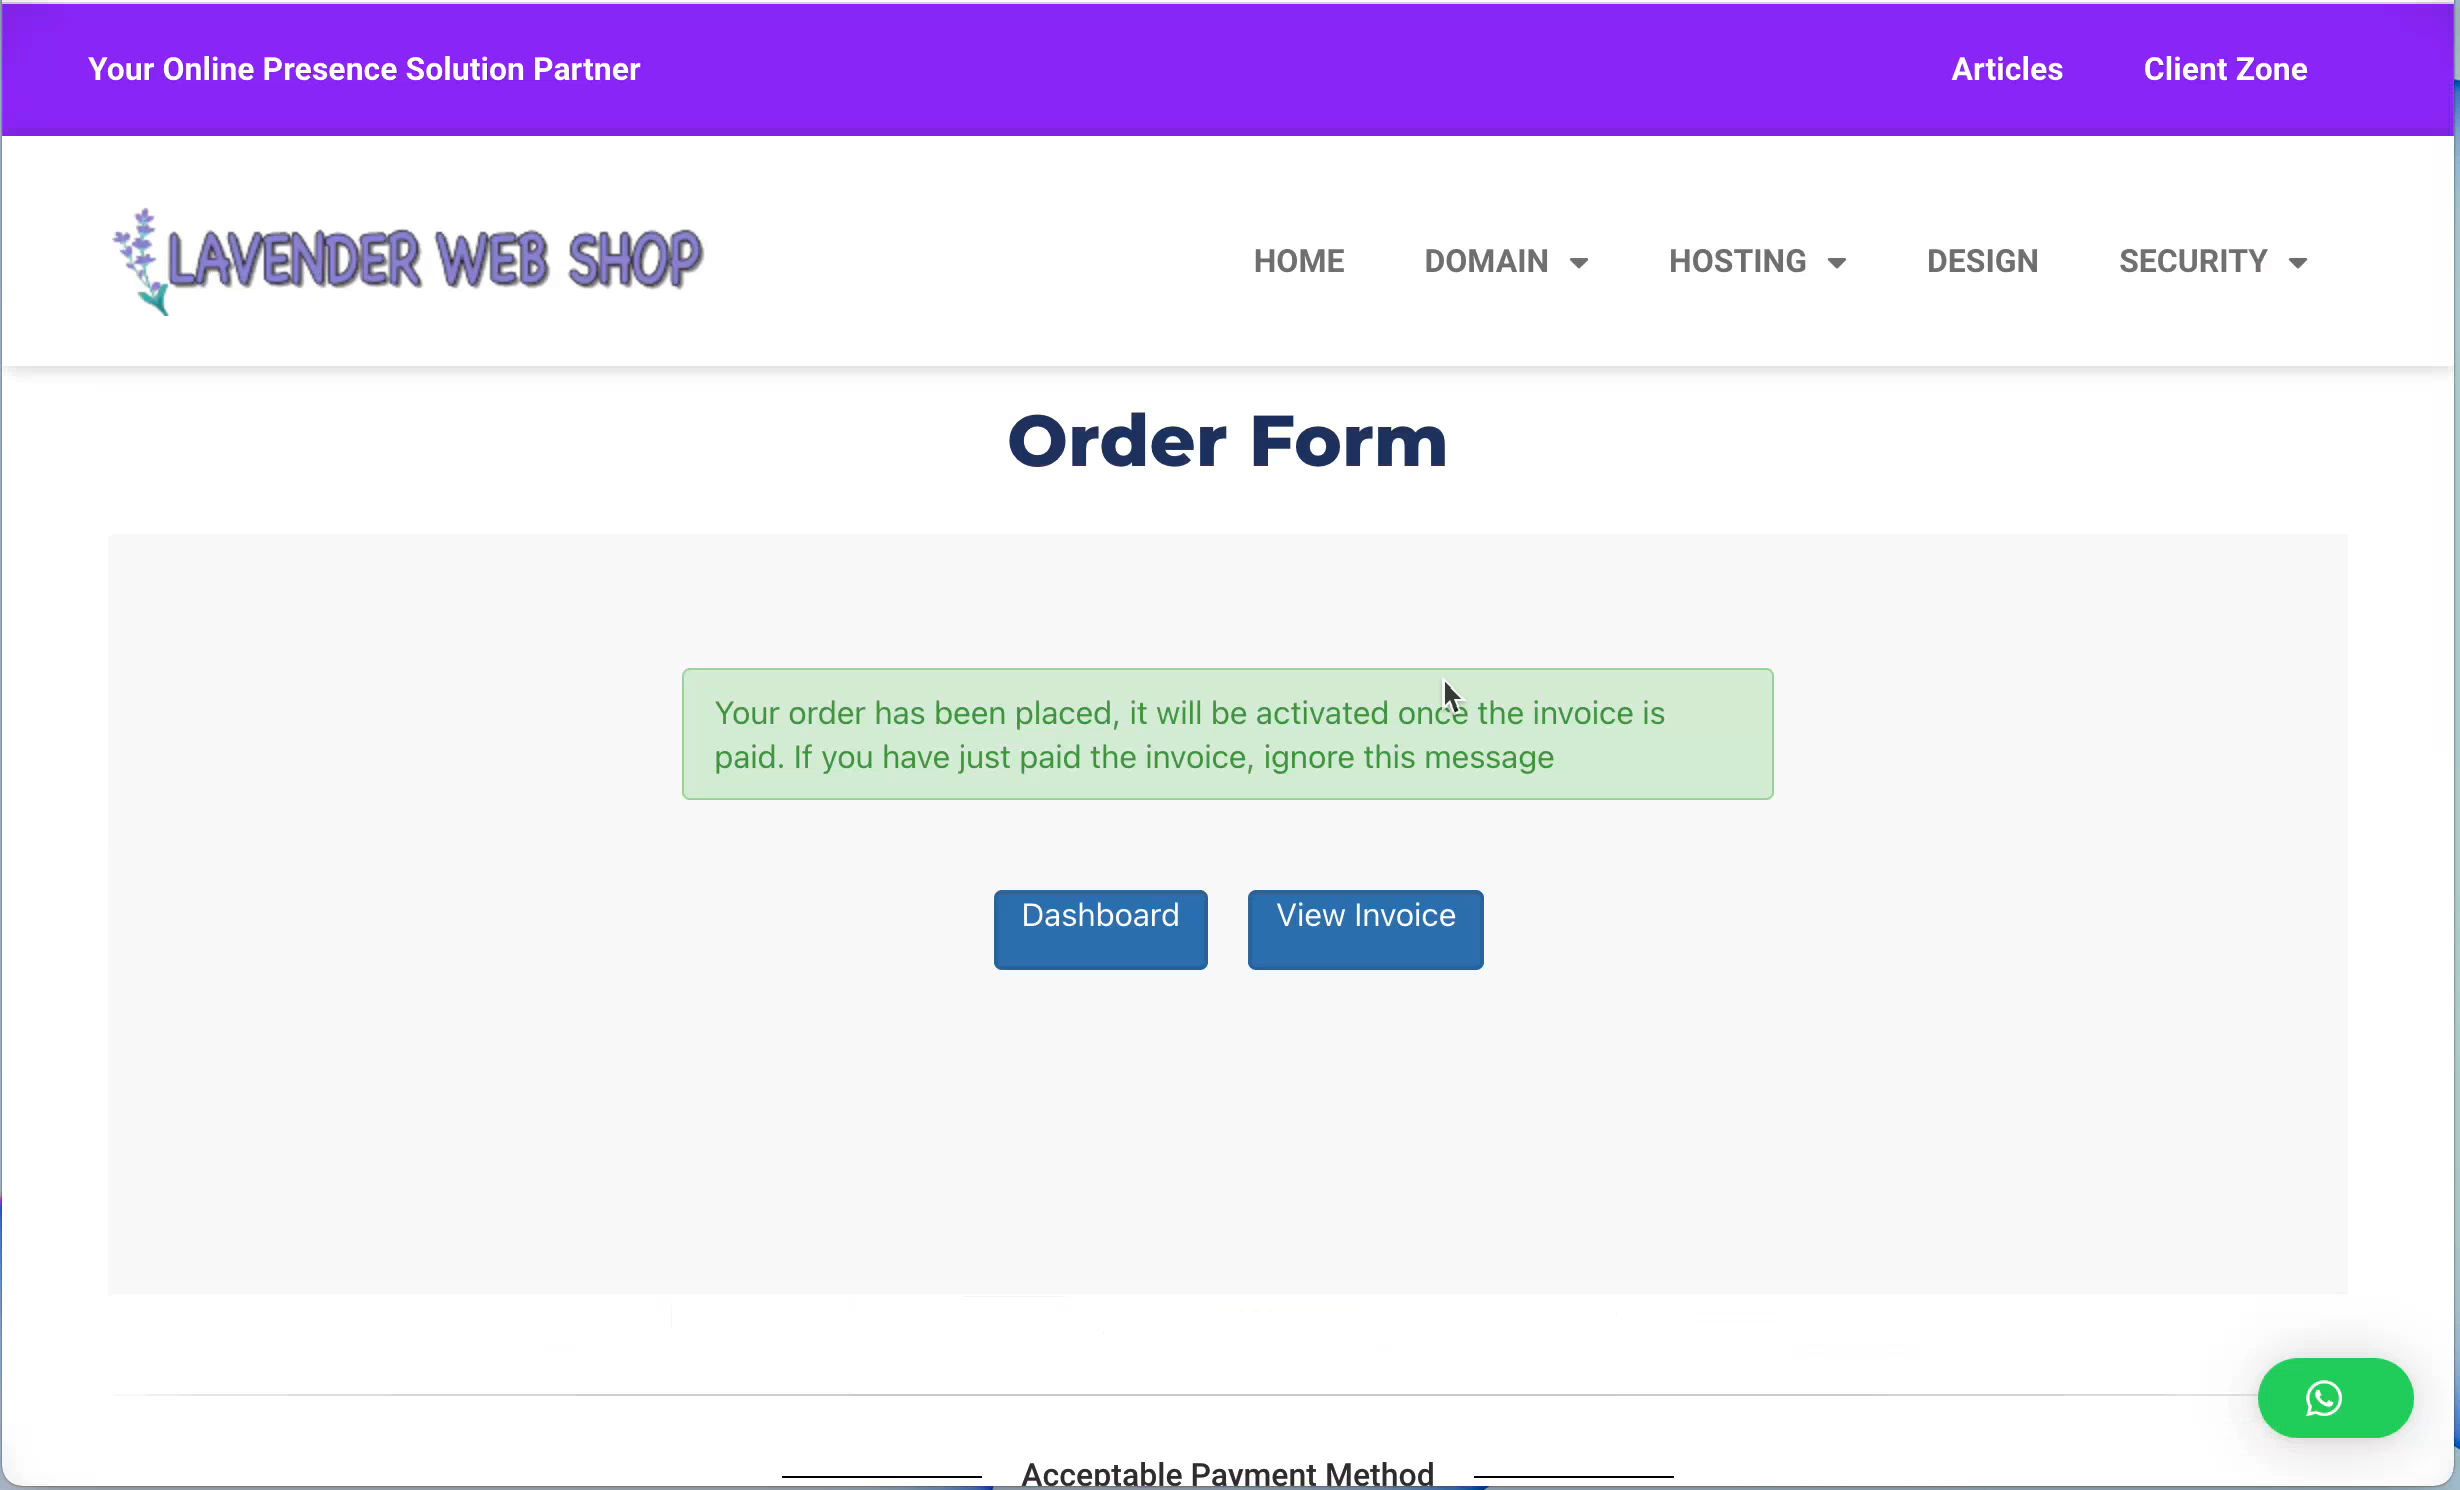
Payment Process – View Invoice
Your order has been submitted to us. You now can start the payment process. To start payment process, click the the View Invoice Button.
You will see the invoice as follows:
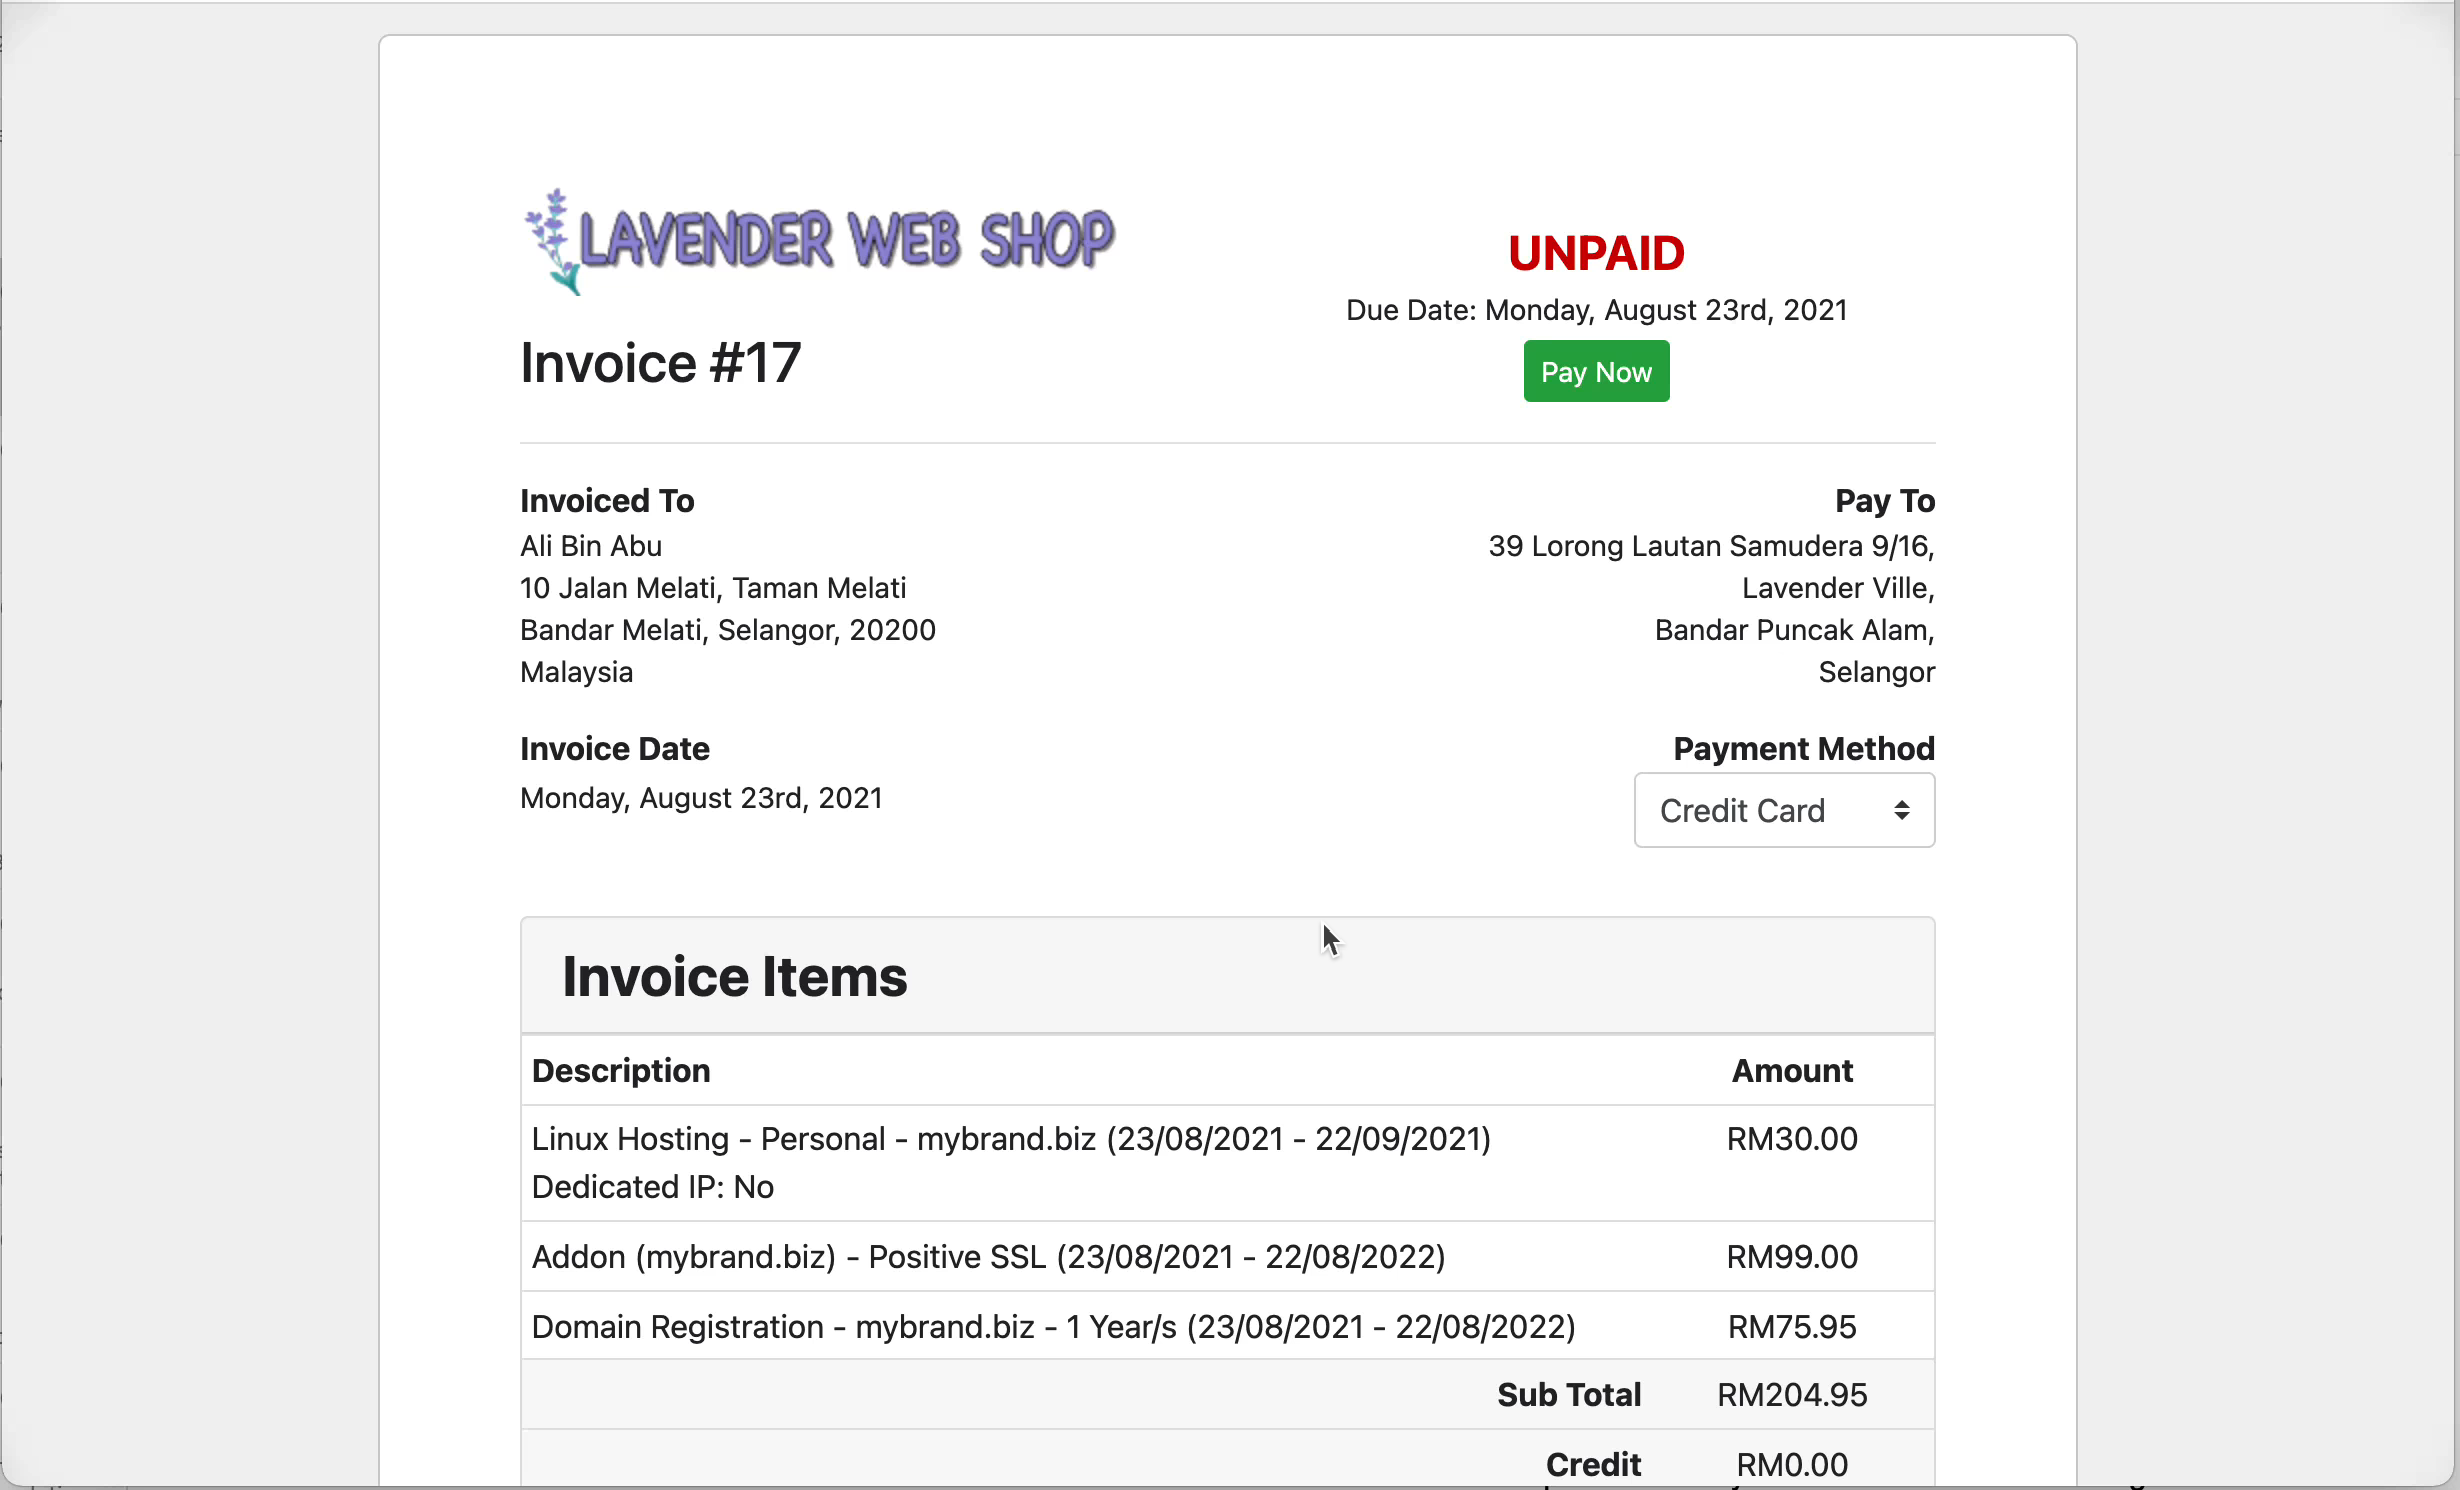
Choose you preferred payment method and click “Pay Now” button.
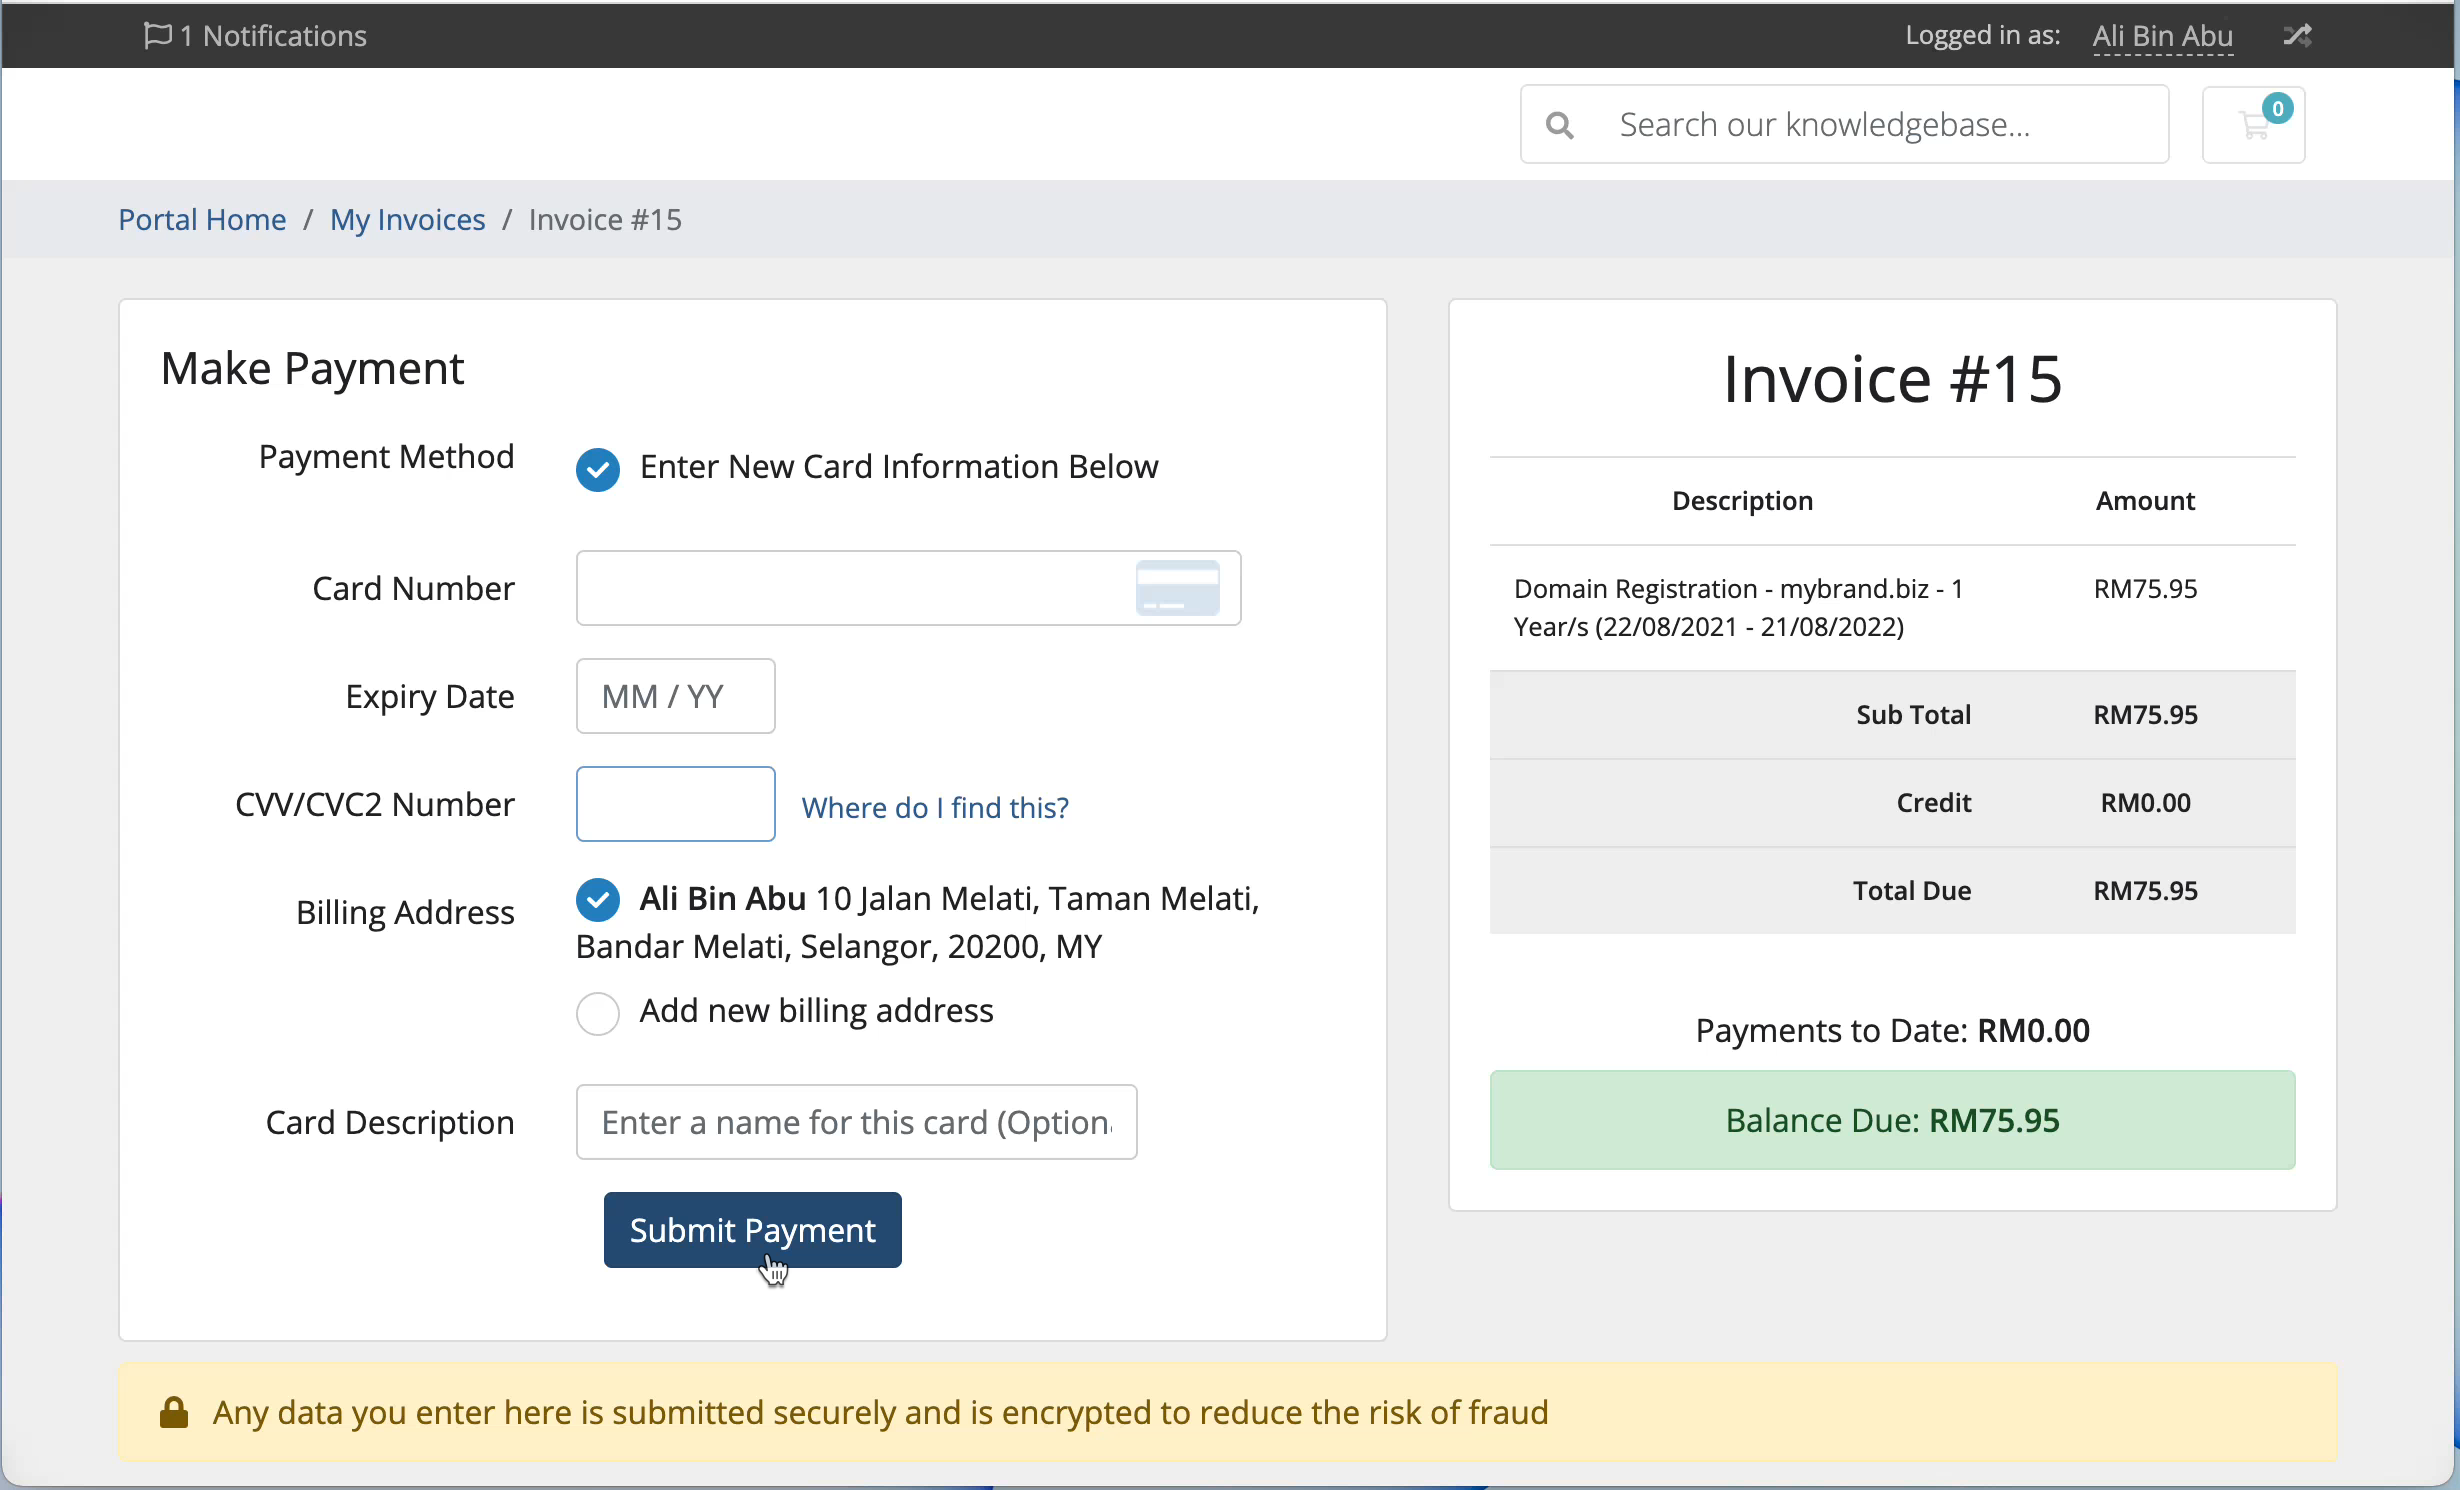
Payment Details – Credit Card
If you choose Credit Card as your payment method, you will see the page below. Fill up your credit card information – card number, expiry date and CVV/CVC2 and click “Submit Payment” button below.
Depending on your card issuer, you will be redirected to your card issuer validation page. Follow the necessary step and your card issuer will notify us if the payment is successful and we will start executing your order immediately. If not, you can always login to your Client Zone and select the invoice and make another payment attempt. DO NOT click back button whenever you made payment process as you might risk being charged twice.
Payment Details – Online Banking
If you choose Online Banking as your payment method, you will be redirected to ToyyibPay FPX page where you need to select your bank and click Proceed at the bottom.
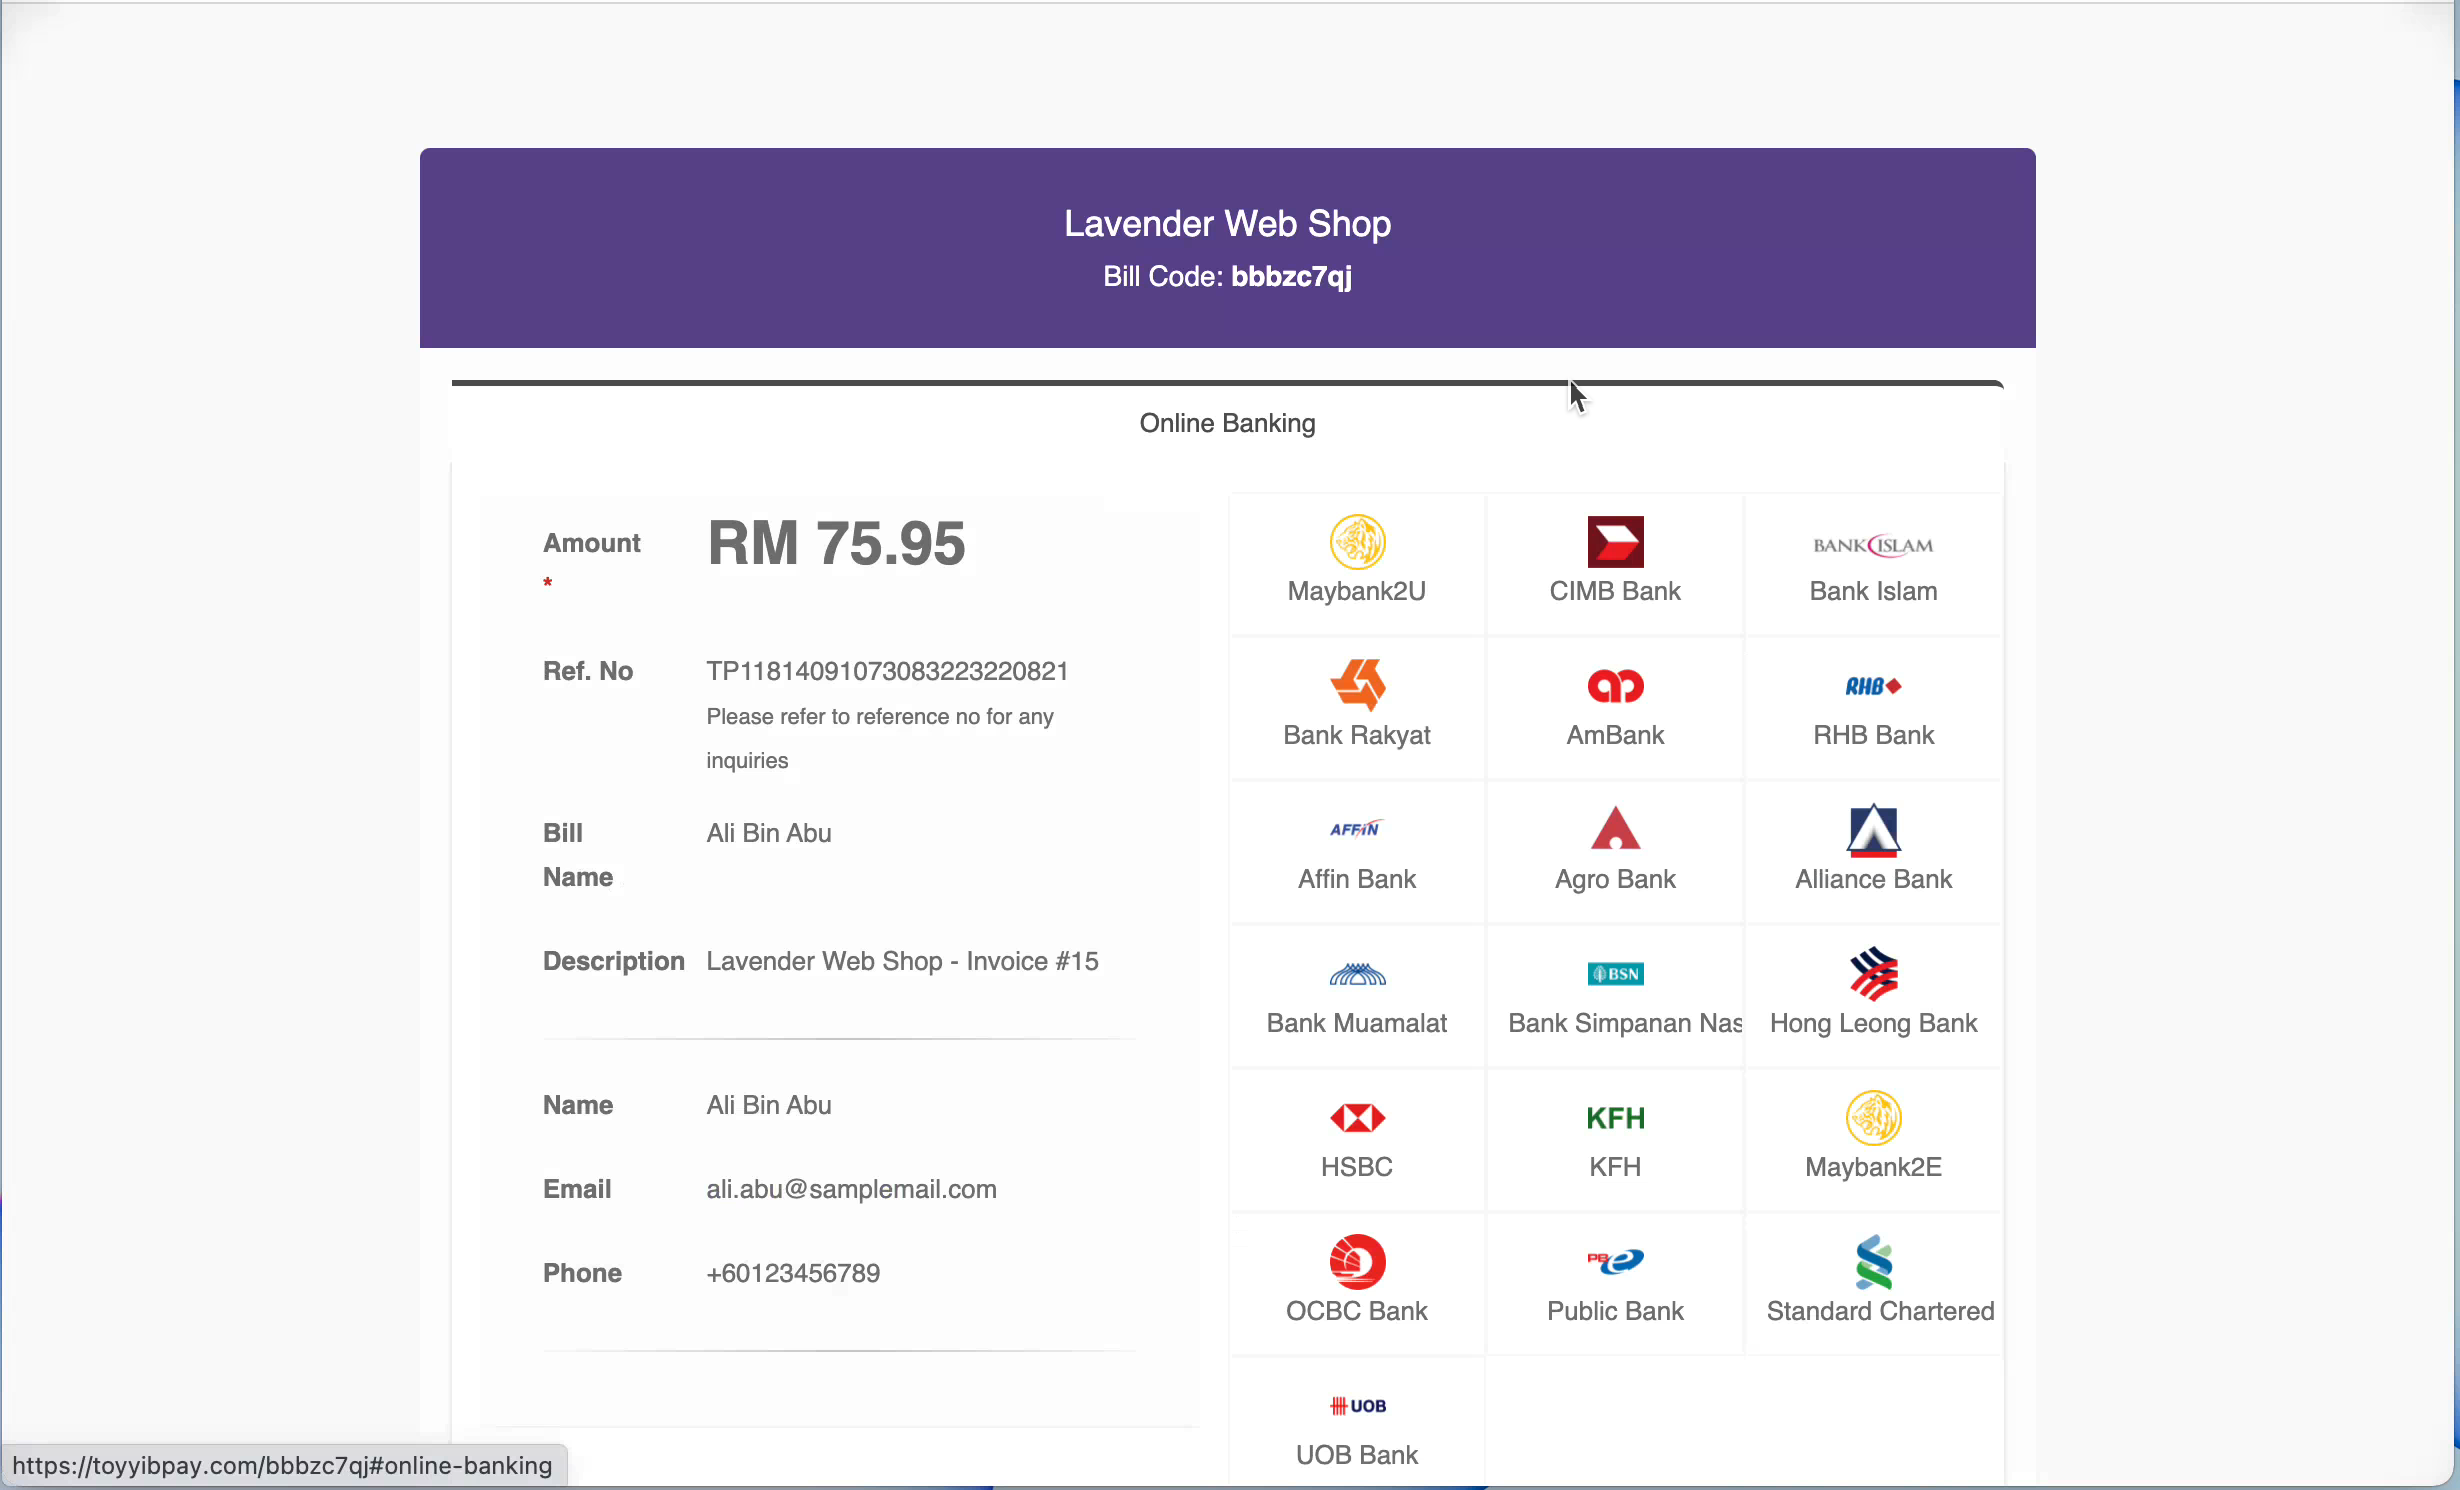
Click “Proceed” button at the bottom of the page. You will then be redirected to your chosen bank and follow the usual process of payment. Your bank will notify us if the payment is successful and we will start executing your order immediately. If not, you can always login to your Client Zone and select the invoice and make another payment attempt. DO NOT click back button whenever you made payment process as you might risk being charged twice.
You will receive email from us to confirm the receipt of payment and soon after you will receive another email whenever your hosting account has been successfully activated.